Page - Create and Manage Content (Teacher)
TABLE OF CONTENTS
- 1 Introduction
- 2 Before you start
- 3 Create and edit Page content
- 4 Organise content blocks and layout
- 5 Archive, restore and delete content blocks
- 6 Configure Page settings
- 7 Present and print a Page
- 8 Content block behaviour
- 9 Existing Page and Note content
- 10 Tablet and responsive use
- 11 Troubleshooting and expected behaviour
1 Introduction
The Page tool is used to create and structure content in itslearning. It replaces the previous Page and Note tools with one common tool for creating Page content.
A Page is built from content blocks. Depending on the content you add, a Page can include text and media, images, polls, files and an RSS news feed. The Page tool also supports page layout, content block ordering, archive handling, visibility settings, selected participants, assigning learning objectives to the Page element, presentation mode and printing via the browser print function.
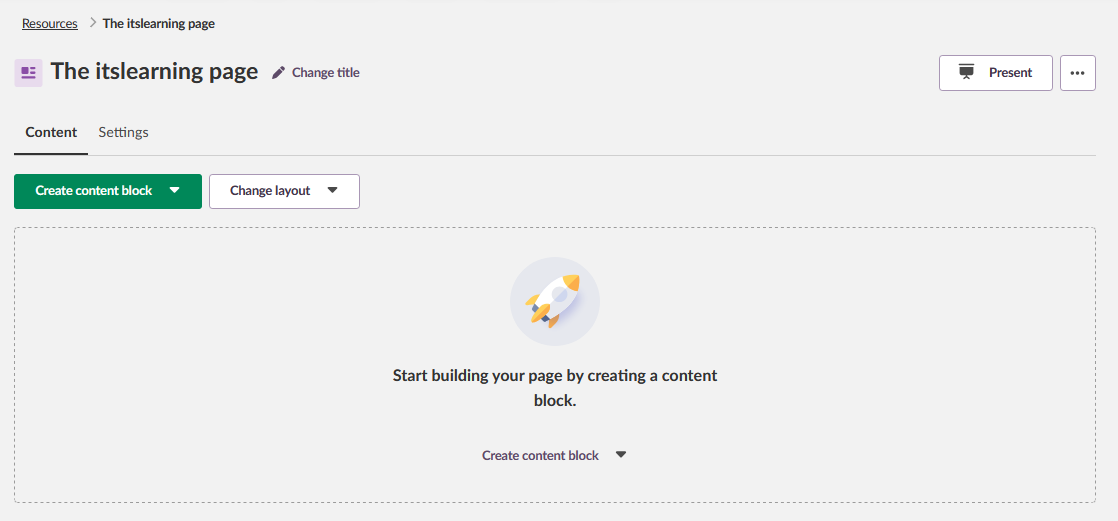
A Page opens in a frameless view. You can scroll the Page without the main menu following the viewport. A new Page that has no content blocks shows an empty state with a prompt to create the first content block.
2 Before you start
Before you work with a Page, check that the following are in place:
- You are signed in to itslearning.
- You have access to a course where you can create or open a Page element.
- If you want to add learning objectives, learning objectives must be enabled in the course properties and available for the course or site.
- If you want to check how existing content is displayed, open a Page that contains the relevant content block types.
3 Create and edit Page content
Use content blocks to build the Page. New content blocks can be added from the top of the Page or at the bottom of a column.
3.1 Change the Page title
- Next to the Page title, click Change title.
- Enter the new title.
- Click Save title.
The Page title is updated.
3.2 Create a content block
- Click Create content block.
- Select the content block type you want to add.
- Fill in the required information for the selected content block type.
- Click Create.
You return to the Page. The new content block is shown at the top of the Page.
To add content at the end of a column, click Create content block at the bottom of the column, select a content block type and complete the form. The new content block is appended at the end of that column.

Note: Each content block type has its own create form. Expand an item below to see the type-specific fields and a screenshot of the form. All forms share a Title field and a colour selector.
▶ Text and media — rich text and embedded media
The Text and media form contains a rich-text Content editor.

▶ Files — uploaded files for download
The Files form contains an Add files upload area.

▶ Image gallery — multiple images in a gallery
The Image gallery form contains an Add image upload area for one or more images.
Note: Images are uploaded one at a time. The maximum file size is 5.00 MB per image. The order of images cannot be changed after uploading.

▶ Poll — single-question vote with up to ten alternatives
The Poll form contains a required Question field and an Alternatives section. You can add up to ten alternatives. The Settings section controls who can see the results, whether the number of votes is shown and whether participants can change their votes.

▶ News feed (RSS) — stories from an RSS or Atom feed
The News feed (RSS) form contains a required URL field for the RSS or Atom feed, an Items to show selector (5, 10 or 15) and a Show selector for either headings only or headings and post summary.

An example of a Page with multiple content blocks added is shown below.

3.3 Edit a content block
- Open the three-dot options menu for the content block.
- Select Edit.
- Make your changes.
- Click Save.
You return to the Page. The updated content block is shown on the Page.

4 Organise content blocks and layout
You can change the Page layout and move content blocks within the Page.
4.1 Change the layout
- Click Change layout.
- Select a layout option from the menu.
The Page layout is updated. Content blocks render in the selected layout.
The available layouts are One column, Two columns and Two columns (wide left).

Two columns layout

Two columns (wide left) layout

4.2 Move content blocks
You can move content blocks by dragging them or by using the options menu.
| Method | Steps | Result |
|---|---|---|
| Drag and drop | Press and hold the six-dot drag handle. Drag the content block vertically to change its order or horizontally to move it to another column. | The Page updates with the new order or column placement. |
| Options menu | Open the three-dot options menu for the content block. Select Move up, Move down or Change column. | The content block moves to a new position or is appended to the other column. |

5 Archive, restore and delete content blocks
You can remove content blocks from the Page by archiving them. Archived content blocks can be restored from the Page archive. Content blocks can also be deleted.
5.1 Archive a content block
- Open the three-dot options menu for the content block.
- Select Archive.
- Confirm the action in the dialog.
The content block is removed from the list of blocks in the Page. A blue information banner confirms the action.
5.2 Restore an archived content block
- Click Create content block.
- Select From archive.
- Select one or more archived content blocks, or open the three-dot options menu for one archived content block.
- Select Restore.
- Click Back to the Page to return to the Page element.
A blue confirmation banner confirms that the content block has been restored. The restored content block is shown in the Page element.
Note: The archive is accessed through the Create content block menu. Select From archive at the bottom of the list.
5.3 Delete a content block
Important: Use deletion only when the content block is no longer needed. Use Archive if you may need to restore the content block later.
- Open the three-dot options menu for the content block.
- Select Delete.
- Confirm the deletion in the dialog.
A blue confirmation banner confirms that the content block has been deleted.
Archived content blocks can also be deleted from the archive. Open the archive, open the three-dot options menu for the archived content block, select Delete and confirm the action.
6 Configure Page settings
Use the Page settings to control the visibility of the entire Page, assign the Page to selected participants and connect learning objectives.
6.1 Change visibility
- Near the top of the Page, click Settings.
- Set the Page visibility. For example, select Not visible to students.
- Save the settings.
A blue information banner confirms that the settings have been saved. You can verify the visibility from the Resources page or the course overview.
6.2 Assign the Page to selected participants
- Open Settings.
- Find the Assigned to section.
- Click Add or remove participants.
- Select the participants in the dialog.
- Click Assign.
- Save the settings.
The Page is assigned to the selected participants. The Page is only visible to those participants.
6.3 Add and view learning objectives
Prerequisite: Learning objectives must be enabled in the course, and learning objectives must be available for the course or site.
- Open Settings.
- Find the Learning objectives section.
- Click Add learning objective.
- Select the learning objectives in the dialog.
- Save the dialog.
- Save the Page settings.
The Settings tab shows the learning objectives associated with the Page.
To view the learning objectives from the Page, open the three-dot options menu in the upper-right corner and select View learning objectives. A dialog shows the learning objectives associated with the Page.
7 Present and print a Page
Presentation mode
You can use presentation mode when showing a Page in class.
- Click Present.
Interactive controls are hidden from the teacher view. This gives a presentation-friendly view of the Page.
Note: The Listen button remains available on text and media content blocks during presentation. Use it to open the content in Immersive Reader while presenting.

You can also print the Page using the browser print function.
- Open the Page.
- Open the system print dialog using the browser menu or a keyboard shortcut.
- Print the Page from the system print dialog.
8 Content block behaviour
The Page tool supports several content block types. The table below summarises the behaviour of each type.
| Content block type | Behaviour in the Page UI |
|---|---|
| Text and media | Rich text is rendered. The Listen button opens the text and media content block in Immersive Reader. |
| Image gallery | Images are shown in a gallery view. Click an image to open the gallery in a carousel view. Use the X button or the Esc key to return to the Page. |
| Poll | The poll content block is interactive, records responses and shows results. |
| Files | Files can be downloaded. Existing folders from legacy Page resources can be opened in view mode so that their contents can be viewed and downloaded. |
| News feed (RSS) | Stories from the RSS feed are rendered in the Page. They can be shown as headings with links or as headings with post summaries. |
Note: Content recorded or uploaded using the camera or microphone symbol is saved under Files > My Web Files > My Recordings and can be embedded in other places in itslearning.
9 Existing Page and Note content
Existing content from the previous Page and Note tools is migrated automatically to the Page tool.
| Existing content | Behaviour after migration |
|---|---|
| Previous Page content | Rich text content, files and polls are migrated to the Page tool. Some formatting may change, but changes are expected to be kept to a minimum. |
| Previous Note content | A migrated Note appears as a Page with one text and media content block. The text and media content block contains the contents of the Note. |
| Folders in legacy file content blocks | Existing folders are supported for backwards compatibility in view mode. Users cannot create or edit folders when creating new file content blocks or editing existing ones. |
Important: Some formatting changes may occur during migration. Review migrated Pages if precise formatting is important.
10 Tablet and responsive use
The Page tool is designed to work on common devices, including tablets. The table below describes the expected behaviour on a tablet.
| Tablet action | Expected behaviour |
|---|---|
| View a two-column Page in portrait orientation | Both columns show side by side as designed by the content creator. |
| View a two-column Page in landscape orientation | Both columns still show side by side. |
| Drag and drop a content block | Use the six-dot drag handle to move the content block to a new position. Release the handle by lifting your finger. |
11 Troubleshooting and expected behaviour
| What you see | Cause | What to do |
|---|---|---|
| Learning objectives cannot be added | Learning objectives may not be enabled in the course, or no learning objectives may be available for the course or site. | Check that learning objectives can be enabled in the course and that learning objectives are available for the course or site. |
| Folders cannot be created or edited in a file content block | The Page tool does not support folder creation or editing within file content blocks. | This is expected behaviour. Existing folders from legacy Page resources remain available in view mode for backwards compatibility. |
| Formatting looks slightly different after migration | Existing content is migrated to the Page tool. Some formatting changes may occur. | Review the migrated Page and adjust formatting where needed. |
More Help Resources
Have more questions? Please start with asking your school administrator.
Product Release notes
Stay updated with itslearning latest releases: https://itslearning.com/product-updates
Service Status
Check the current status of itslearning services: https://status.itslearning.com/
Ideas Portal
Share your ideas and help shape the future of itslearning: https://ideas.itslearning.com/
Roadmap
Check out our roadmap: https://itslearning.com/global/roadmap/
The features shown are part of the project within the framework of the German Development Project (GDP), a cooperation between four German states and itslearning with the aim of improving digital education in Germany through tailor-made product developments.
Click here to learn more about the GDP roadmap and what other features you can expect.
For German readers: Click here for more information about the project within the framework of the German Development Project.