Tests – Reference article (Teacher)
TABLE OF CONTENTS
- 1 Overview
- 2 Test Settings
- 3 Managing Questions
- 4 Question Groups
- 5 Common Question Elements
- 6 Cross-cutting Question Settings
- 7 Question Types
- 8 Scoring Overview
- 9 Results and Assessment
- 10 Printing a test
- 11 Advanced Question Analysis
- 12 Troubleshooting
1 Overview
The itslearning test tool supports eight question types. The test editor is organised into four tabs:
- Test: general test settings (see 2 Test Settings).
- Question groups: organise questions into groups with optional random selection (see 3A Question Groups).
- Questions: add, edit, and manage individual questions (see 3 Managing Questions).
- Results — view student submissions and scores (see 8 Results and Assessment).
Each question type shares a set of common elements (editor, learning objectives, score, and feedback), while some types offer additional settings such as negative scoring, custom weighting, or manual assessment.
The available question types are:
| Question type | Description | Partial scoring | Negative score |
|---|---|---|---|
| Either/Or | Select one of two pre-defined answers | No | No |
| Multiple Choice | Select one correct answer from a list of alternatives | With custom weight only | No |
| Open Answer | Enter a free-text answer, scored by keywords or manually | Yes | No |
| Fill in the Blank | Complete a text by typing missing words | Yes | Yes |
| Select from a List | Complete a text by selecting words from dropdown lists | Yes | Yes |
| Order | Arrange alternatives in the correct sequence | Yes | No |
| Match | Pair items from two columns | Yes | No |
| Select Point | Click on the correct area of an image | Yes | Yes |
2 Test Settings
The Test tab contains the general settings for the test. These settings control visibility, deadlines, assessment options, and how results are presented to students.
2.1 Visibility
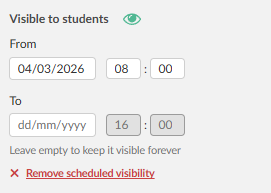
By default, a new test is not visible to students. The visibility status is displayed at the top of the settings page.Press the eye to make it visible without scheduling.
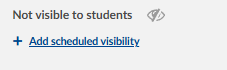
Select Add scheduled visibility to set a date and time range during which the test becomes automatically visible to students.
2.2 Deadline
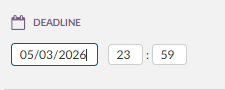
Set a deadline for the test by entering a date (dd/mm/yyyy) and time (hours : minutes). After the deadline, students can no longer submit attempts.
2.3 Homework
Tick the This activity is homework checkbox to mark the test as a homework activity. This displays the test with a homework indicator in the student's task list and course overview.
2.4 Learning Objectives
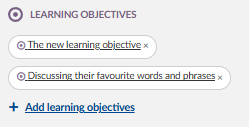
Learning objectives can be added at the test level. Added objectives are displayed as tags and can be removed by selecting the ✕ on each tag. Select Add learning objectives to connect objectives from the course or repository.
Learning objectives added at the test level are also available for selection at the individual question level (see 4.2 Select Learning Objectives).
2.5 Assigned To
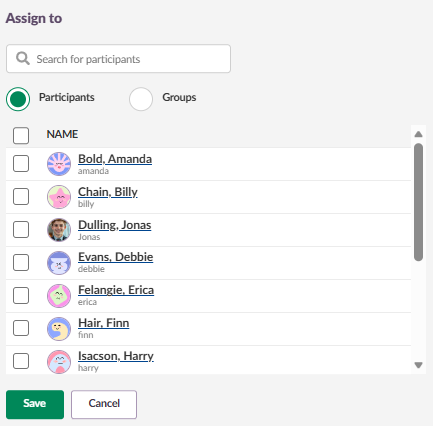
By default, the test is assigned to All course participants. Select Change to assign the test to specific groups or individual participants.
2.6 Assessment Scale
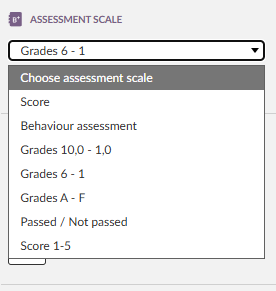
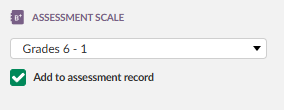
Select an assessment scale from the dropdown (e.g. Grades 6–1). The selected scale determines how the total score is translated into a grade or assessment. Note that assessment scales can be created at both site and course level.
Add to assessment record: When enabled, the test result is added to the course assessment record (gradebook).
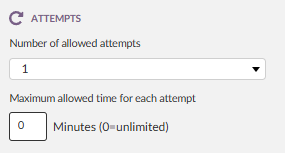
2.7 Attempts
Number of allowed attempts: Select the number of times students can attempt the test from the dropdown.
Maximum allowed time for each attempt: Enter the time limit in minutes. Set to 0 for unlimited time.
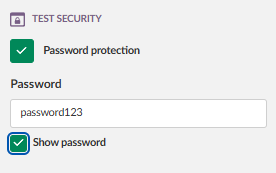
2.8 Test Security
Password protection: When enabled, a Password field appears where the teacher enters the required password. A Show password checkbox allows the teacher to verify the entered password.
When a student opens a password-protected test, they are prompted with: "Please enter the password to open this test". The student must enter the correct password and select Continue to start the test. A Show password checkbox and a Cancel button are also available.
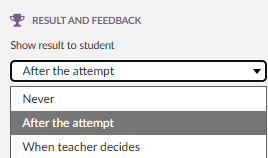
2.9 Result and Feedback
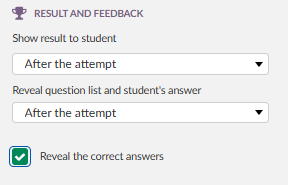
These settings control what information is shown to the student after completing the test.
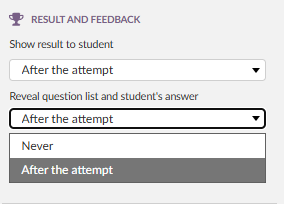
Show result to student: Select when the score is shown to the student from the dropdown (e.g. After the attempt).
Reveal question list and student's answer: Select when students can see the list of questions and their own answers from the dropdown (e.g. After the attempt).
Reveal the correct answers: When enabled, the correct answers are shown to the student alongside their own answers. Note that question-level feedback (see 4.4 Feedback) is shown even if this setting is disabled.
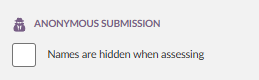
2.10 Anonymous Submission
Names are hidden when assessing: The student name is replaced by a random string of characters in the results list both for submitted and ongoing attempts. The profile picture is also replaced by the default profile image.When exporting the results, the names of the students are replaced with the same random characters.
Each student has a designated random string, so the same random characters will be displayed if they take the same test multiple times. The random string changes when the student takes different tests and assignments. This is a security feature to prevent them from being "tracked".
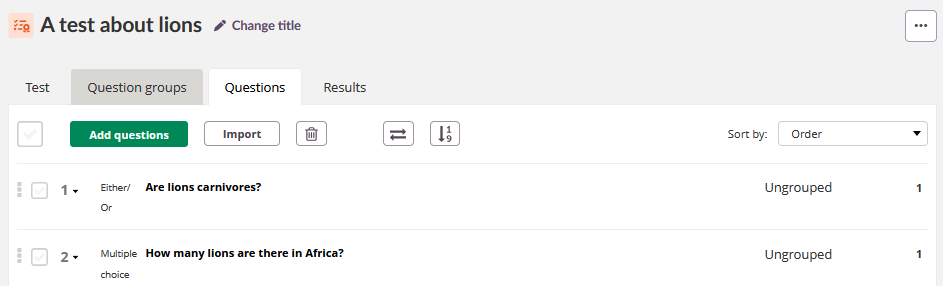
3 Managing Questions
The Questions tab displays all questions in the test. Each question shows a drag handle, a number with dropdown, the question type label, the question text, the assigned question group (or "Ungrouped"), and the score value. The view includes pagination and a View dropdown to control how many questions are shown per page.
3.1 Adding Questions
The toolbar at the top of the Questions tab provides the following options:
- Add questions — add a new question manually by selecting the question type.
- Import — import questions from other tests or from an IMS QTI format file (see 3.6 Importing Questions).
- Delete (bin icon) — delete selected questions.
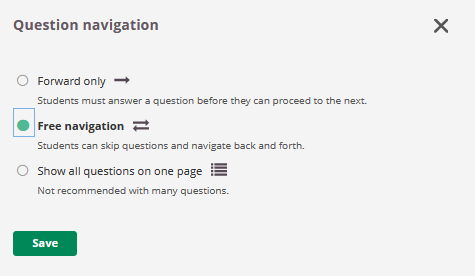
3.2 Question Navigation |

Select the Question navigation icon in the toolbar to control how students move between questions.
Three options are available:
- Forward only — students must answer a question before they can proceed to the next.
- Free navigation (default) — students can skip questions and navigate back and forth.
- Show all questions on one page — all questions are displayed on a single page. Not recommended with many questions.
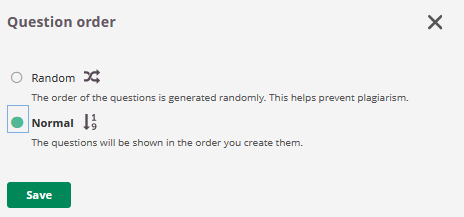
3.3 Question Order |

Select the Question order icon in the toolbar to control the order in which questions are presented to students:
- Normal (default) — questions are shown in the order they were created.
- Random — the order of questions is generated randomly. This helps prevent plagiarism.
3.4 Assigning Questions to Groups
Each question in the list displays a group dropdown on the right side. By default, all questions are Ungrouped. Select the dropdown to assign a question to an existing question group.

3.5 Sort By
Use the Sort by drop-down to sort the question list (e.g. by Order).
3.6 Importing Questions
Select Import to open the import dialogue. Two import methods are available, each on its own tab:
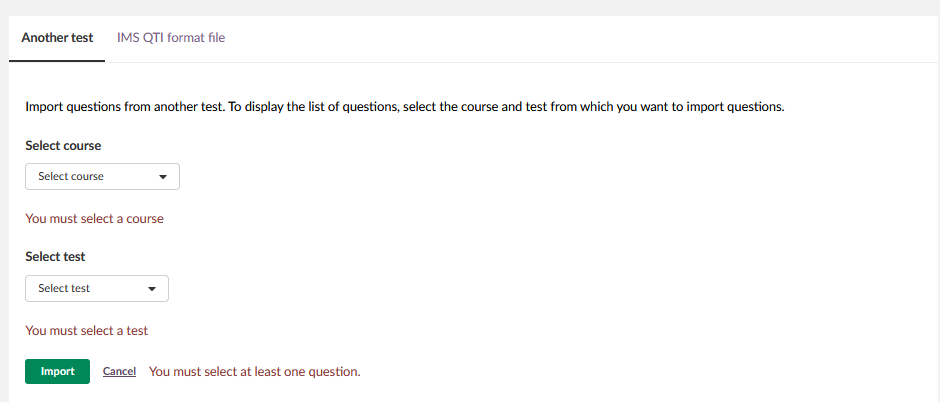
Another test:
Import questions from an existing test in a course you have access to.
- Select the course from the Select course drop-down.
- Select the test from the Select test drop-down.
- A list of all questions in the selected test is displayed, showing the question number, type, question text, and score.
- Tick the checkbox next to the questions you want to import, or use the top checkbox to select all.
- Select Import.
A progress indicator ("Import in progress") is shown while questions are being copied. When complete, a confirmation message is displayed (e.g. "All 17 questions were successfully copied."). Imported questions retain their question group assignments from the source test.
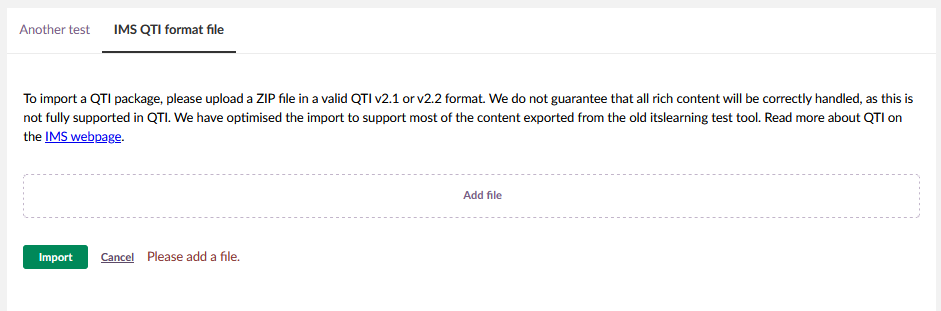
IMS QTI format file:
Import questions from an IMS QTI (Question & Test Interoperability) file.
4 Question Groups
The Question groups tab allows teachers to organise questions into groups with individual settings for display and random selection. Question groups were previously called "Categories".
'Categories' have been modernised and renamed to 'Question groups'. Now with more flexibility, your old categories have been preserved, including score and drawing of random questions.
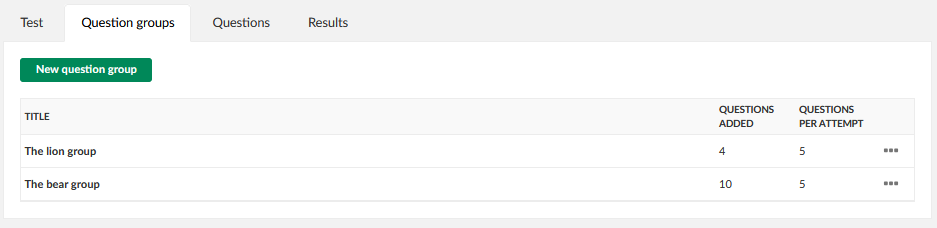
4.1 Overview
The Question groups tab displays a table with the following columns:
| Column | Description |
|---|---|
| Title | The name of the question group (not displayed to students). |
| Questions added | The total number of questions assigned to this group. |
| Questions per attempt | The number of questions drawn from this group for each test attempt. |
Each group has a three-dot menu (⋮) with options to Edit or Delete the group.
Select New question group to create a new group.
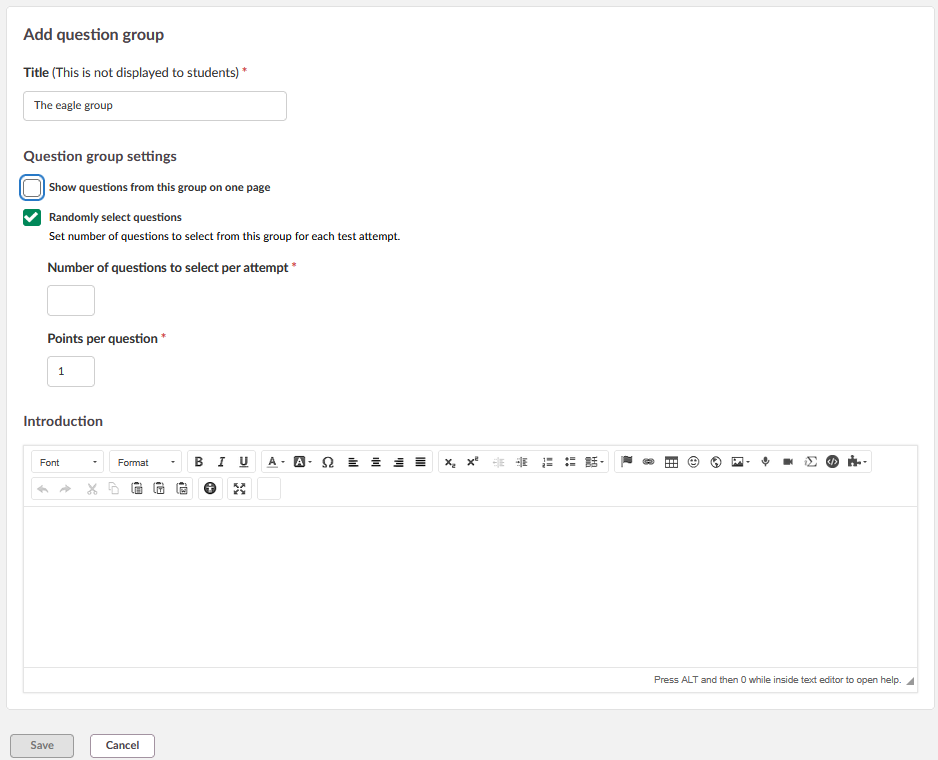
4.2 Creating and Editing a Question Group
When adding or editing a question group, the following fields are available:
Title (required): The name of the question group. This is not displayed to students.
Question group settings:
- Show questions from this group on one page — when enabled, all questions drawn from this group are displayed together on a single page during the test. When disabled, questions are shown one at a time with Back and Next buttons.
- Randomly select questions— when enabled, a random subset of questions is drawn from the group for each test attempt. Two additional required fields appear:
- Number of questions to select per attempt — the number of questions drawn from the group each time a student takes the test.
- Points per question — the score assigned to each randomly selected question. This overrides individual question scores to ensure consistent total scoring regardless of which questions are drawn.
Introduction: A rich-text editor field (full toolbar) for adding introductory text or instructions that are displayed to students before the questions in this group.
4.3 How Question Groups Work
When a test contains question groups with random selection enabled, the system draws the specified number of questions from each group for each attempt. This means different students may receive different questions, which helps prevent plagiarism.
Example: A test has two groups — "The lion group" with 7 questions (5 per attempt) and "The bear group" with 10 questions (5 per attempt). Each student receives 10 questions in total: 5 randomly selected from each group.
The group display setting controls how questions within that group are presented:
- A group with Show questions from this group on one page enabled displays all its drawn questions together on a single scrollable page.
- A group without this setting shows questions one at a time with Back and Next navigation buttons.
Both display modes can exist in the same test if groups have different settings.
Note: Question groups are specific to each test and are not shared across tests.
5 Common Question Elements
The following elements appear in all or most question types and work the same way across them.
5.1 Rich-text Editor
Most question types use a rich-text editor for the question text. The editor has two modes:
Compact toolbar (default): Font, Format/Normal, bold, italic, underline, and a More options button.
Some question types (such as Multiple Choice, Open Answer, Fill in the Blank, Select from a List, Order, and Select Point) also display icons for image, audio recording, video recording, and equation directly in the compact toolbar.
Full toolbar (select More options to expand, or shown by default in the Open Answer type): All formatting tools including text alignment, font colour, highlight colour, special characters (Ω), tables, emoticons, links, embedded content, source code editing, and fullscreen mode. The button changes to Hide options when expanded.
Tip: Press ALT and then 0 while inside the text editor to open the editor help.
5.2 Select Learning Objectives
Learning objectives can be added both at the test level and at the individual question level. If learning objectives have been added to the test, they are listed in this section. Tick the checkbox next to one or more learning objectives to connect them to the question.
You can connect one or more learning objectives from the test to this question.
5.3 Score
The Score value field sets the maximum number of points a student can achieve on the question. The default value is 1.
For question types with partial scoring (such as Fill in the Blank, Match, or Order), each correct element is worth an equal fraction of the total score.
5.4 Feedback
The Feedback section is a collapsible panel at the bottom of the question editor. When expanded, it provides three text fields:
- Correct answer — feedback shown when the student answers correctly.
- Partially correct answer — feedback shown when the student answers partially correctly.
- Wrong answer — feedback shown when the student answers incorrectly.
Give your students feedback based on their answers. Note that feedback is shown even if the correct answer is not revealed.
5.5 Action Buttons
At the bottom of the question editor, the following buttons are available:
- Save — saves the question and returns to the test overview.
- Save and new — saves the question and opens a blank form for a new question.
- Cancel — discards changes and returns to the test overview.
- Preview — opens a preview of the question as it will appear to students.
6 Cross-cutting Question Settings
These settings are available for specific question types and are described here once to avoid repetition. The table below shows which settings are available for each question type.
| Setting | Either/Or | Multiple Choice | Open Answer | Fill in the Blank | Select from a List | Order | Match | Select Point |
|---|---|---|---|---|---|---|---|---|
| Negative score | ✓ | ✓ | ✓ | |||||
| Customise score (weight) | ✓ | |||||||
| Use manual assessment | ✓ | ✓ | ||||||
| Answers are case-sensitive | ✓ | ✓ | ||||||
| Instruction text | ✓ | ✓ | ||||||
| Randomise alternatives | ✓ | ✓* | ||||||
| Allow multiple answers | ✓ | |||||||
| Automatic feedback on alternatives | ✓ |
* In Match questions, the right-hand side is always randomised. The checkbox controls whether the left-hand side is also randomised.
6.1 Negative Score
When enabled, participants have points deducted for wrong answers. This only applies to question types with partial scoring. The total score for a question will never be lower than 0.
For Fill in the Blank and Select from a List, blank (unanswered) fields are not included in the negative score calculation. For Select Point, clicks outside defined areas result in deductions.
For detailed scoring logic, see section 7 Scoring Overview.
6.2 Customise Score (Weight)
Available for Multiple Choice only. When enabled, a Weight field appears below each alternative. Enter a numeric value (0 or a positive integer) to assign a custom weight to each alternative. The percentage is calculated automatically. Setting a weight of 0 excludes that alternative from the score calculation.
Single answer (default Multiple Choice): The alternative with the highest weight represents 100% of the score. Other alternatives are calculated relative to that, allowing partial credit for answers that are not entirely wrong.
Multiple answers (when Allow students to select more than one alternative is enabled): The sum of all percentages is always 100%. Adjusting the weight for one alternative changes the percentage of all alternatives. Setting the weight of incorrect alternatives to 0 overrides the default logic of awarding points for not selecting them.
Note: Percentages are rounded off to integers in the visual interface, but exact values are used in score calculation so results are accurate.
6.3 Use Manual Assessment
When enabled, the question is flagged for manual review by the teacher rather than being scored automatically.
6.4 Answers Are Case-sensitive
When enabled, the student's answer must match the exact capitalisation of the correct answer or its alternatives. When disabled (default), capitalisation is ignored.
6.5 Instruction Text
When enabled, a rich-text editor field appears above the question text. Use this to add instructions or context for the student. The placeholder text reads: "Add instructions to this question."
7 Question Types
Each section below describes only what is unique to that question type. For shared elements, see 4 Common Question Elements and 5 Cross-cutting Question Settings.
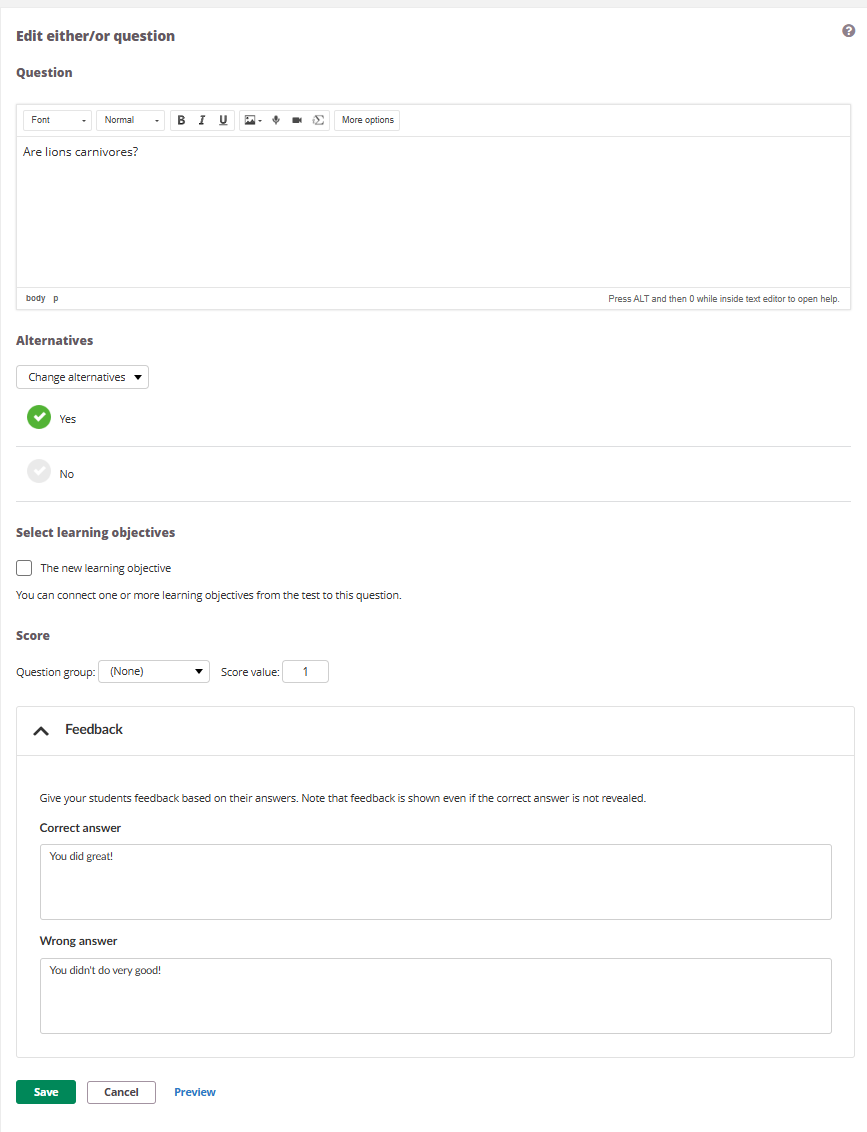
7.1 Either/Or
The either/or question presents two answer alternatives. The student selects one. The answer is either correct (full score) or incorrect (0 points). There is no partial scoring.
This question type is suitable for true/false or yes/no questions, but can also be used creatively with custom alternative pairs. Examples include:
- Foreign language: Provide an audio recording in the question text and ask students to identify a detail (e.g. Beach/Camping).
- Literature: Ask students to classify a character (e.g. Protagonist/Antagonist).
- Art: Insert two images in the question text and let students choose between them (e.g. A/B).
Alternatives:
The two answer options are displayed as plain text to ensure a simple interface and good interaction with screen readers. Select the Change alternatives dropdown to choose from the following pre-defined pairs:
- Yes/No
- True/False
- Agree/Disagree
- Custom — enter your own alternative texts.
The correct answer is indicated by a green checkmark icon; select an alternative to mark it as correct.
The answer options themselves do not support rich text, images, or equations. However, the question text field supports the full rich-text editor, so images, audio, and other media can be included in the question itself.
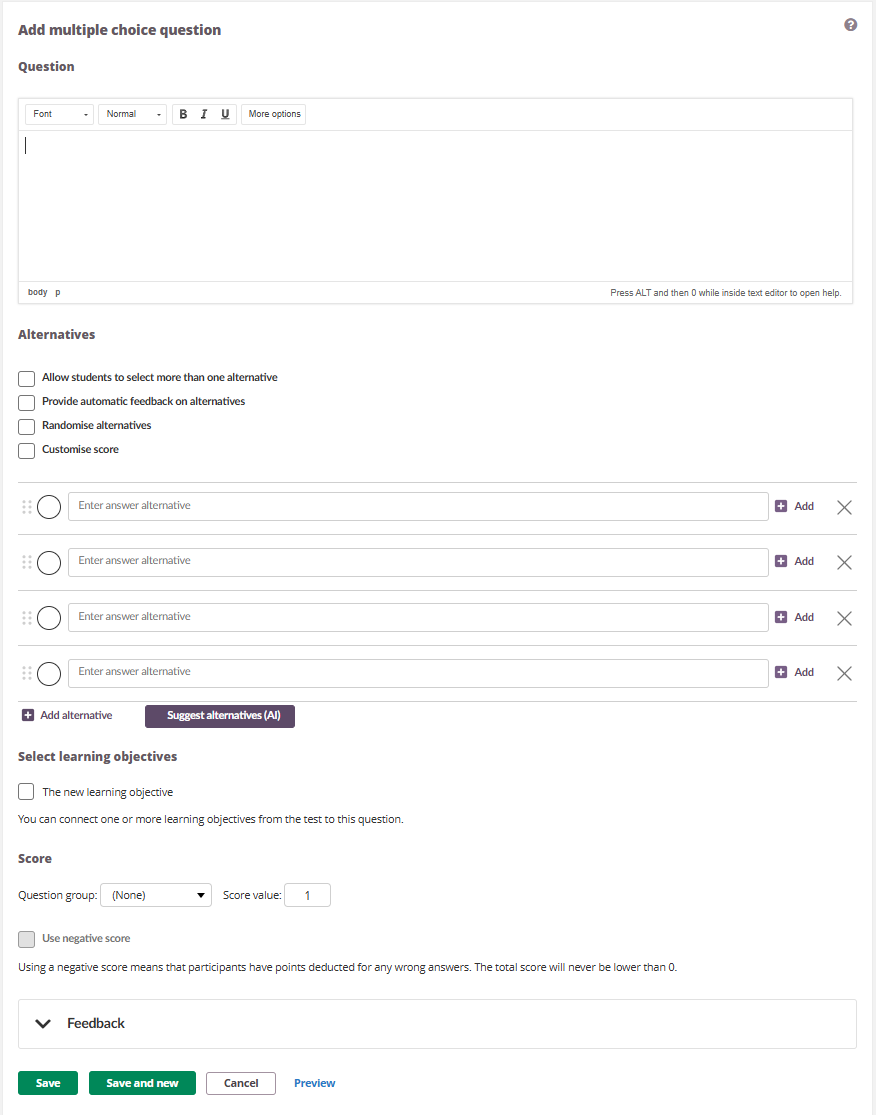
7.2 Multiple Choice
The multiple choice question presents a list of alternatives. By default, the student selects one correct answer.
Alternatives settings:
| Setting | Description |
|---|---|
| Allow students to select more than one alternative | Changes the alternatives from single-select (radio buttons) to multi-select (checkboxes), allowing students to select more than one answer. This changes how scoring works — see 7 Scoring Overview. |
| Provide automatic feedback on alternatives | When enabled, a feedback text field appears for each alternative. The feedback for the alternative the student selected is shown directly below that alternative in the test review, in addition to the general feedback at the bottom of the question. |
| Randomise alternatives | Randomises the order of alternatives for each participant. |
| Customise score | Displays a Weight field below each alternative — see 5.2 Customise Score. |
Answer alternatives:
Each alternative consists of:
- A drag handle (six dots icon) to reorder alternatives by dragging.
- A radio button (or checkbox when Allow students to select more than one alternative is enabled) to mark the correct answer(s).
- A text input field for the alternative text.
- An Add button (➕) with a menu for inserting an Image or an Equation.
- A delete button (✕) to remove the alternative.
By default, four alternatives are displayed. Select Add alternative to add more.
7.3 Open Answer
The open answer question allows students to enter a free-text response. It can be scored automatically using keywords or flagged for manual assessment.
Keywords:
Keywords are required for automatic assessment. To get a full score, the student's answer must include all keywords or their suggested alternatives. Keywords and their alternatives are equally weighted.
Each keyword entry consists of:
- A drag handle to reorder keywords.
- A Keyword field for the main keyword.
- An Enter answer alternative field for accepted alternative answers, separated by commas.
- A delete button (✕) to remove the keyword.
Select Add alternative to add more keywords.
Available settings: Answers are case-sensitive, Use manual assessment.
Note: The Open Answer editor displays the full toolbar by default, unlike other question types which start with the compact toolbar.
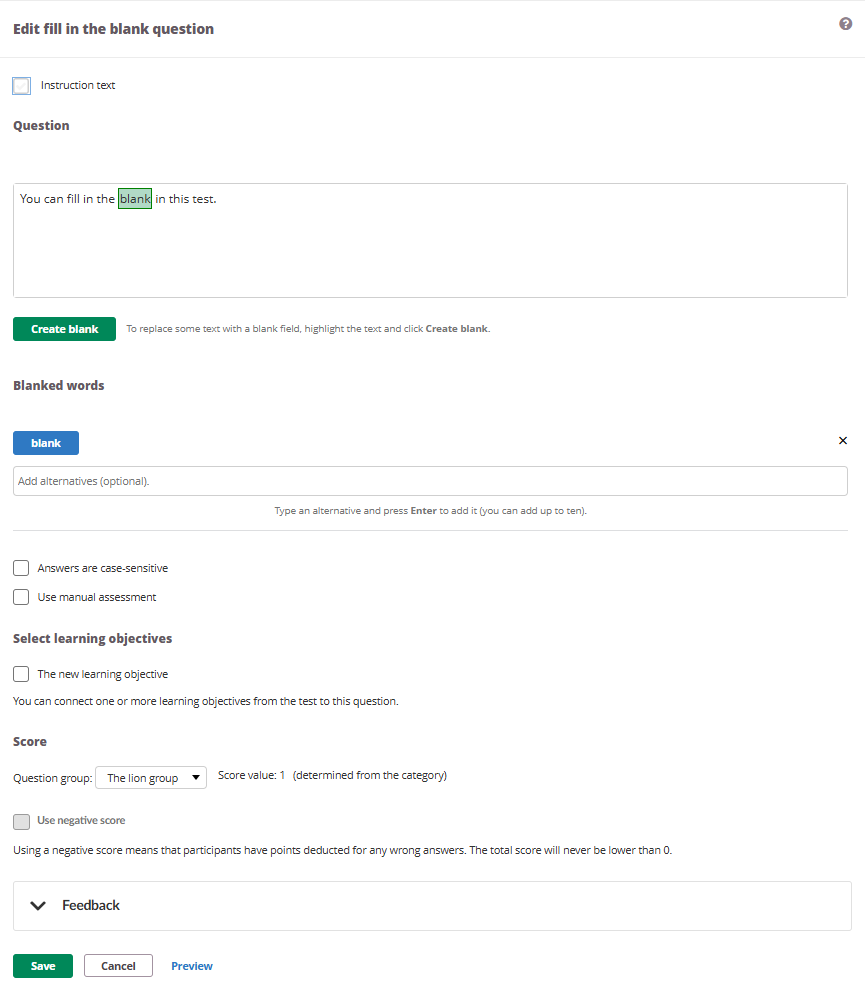
7.4 Fill in the Blank
The fill in the blank question presents a text with missing words. Students type the correct word in each blank.
Creating blanks:
- Type or paste the full text into the question field.
- Highlight the word or phrase to be blanked out.
- Select Create blank.
The blanked word is displayed with a highlighted box in the question text.
Blanked words:
Each blanked word appears below the question as a labelled tag. For each blanked word:
- Add accepted alternative answers in the Add alternatives (optional) field. Type an alternative and press Enter to add it. You can add up to ten alternatives per blank.
- Remove the blanked word by selecting the delete button (✕).
Available settings: Instruction text, Answers are case-sensitive, Use manual assessment, Negative score.
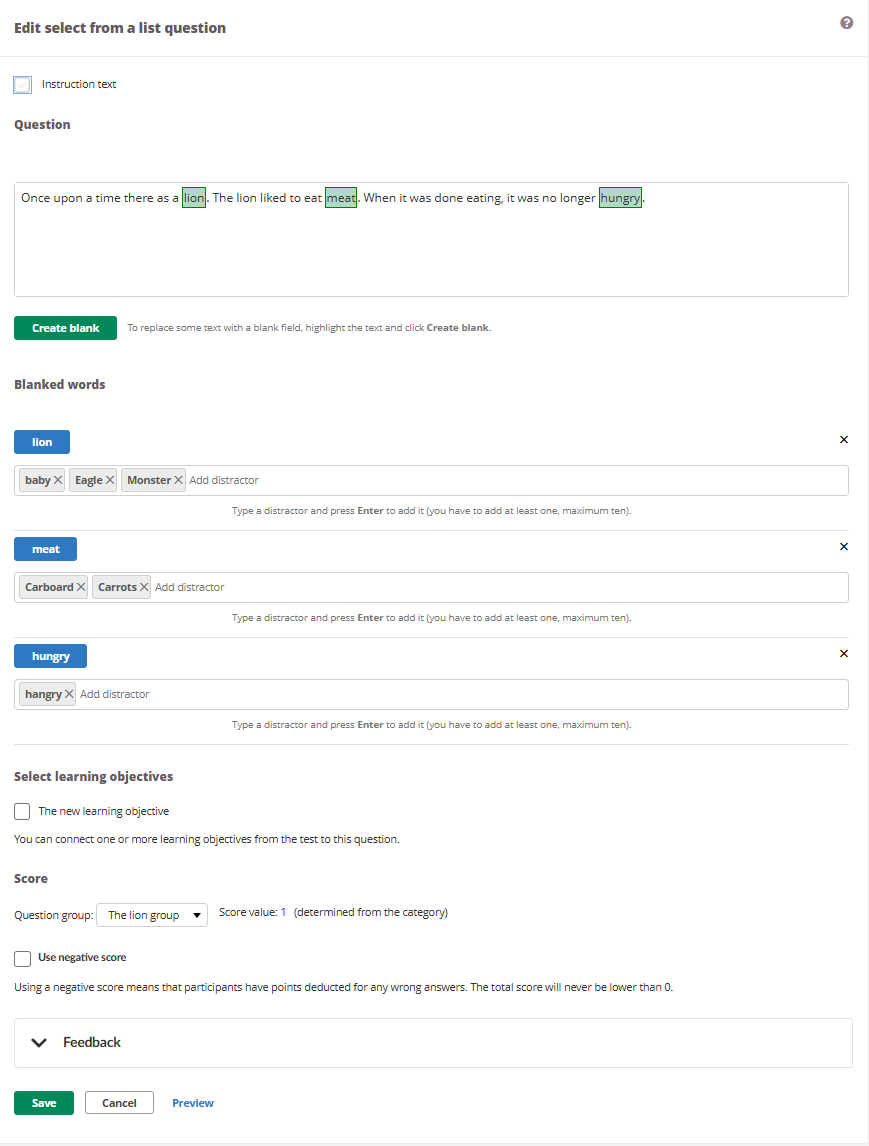
7.5 Select from a List
The select from a list question presents a text with missing words, similar to Fill in the Blank. However, instead of typing, students select the correct word from a dropdown list. The teacher must add distractors (incorrect options) that appear alongside the correct answer.
Creating blanks: Same process as Fill in the Blank — highlight text and select Create blank.
Blanked words with distractors:
Each blanked word appears below the question as a labelled tag. For each blanked word:
- Type a distractor in the Add distractor field and press Enter to add it.
- You must add at least one distractor, and can add up to ten per blank.
- Each distractor appears as a removable tag.
Type a distractor and press Enter to add it (you have to add at least one, maximum ten).
Available settings: Instruction text, Negative score.
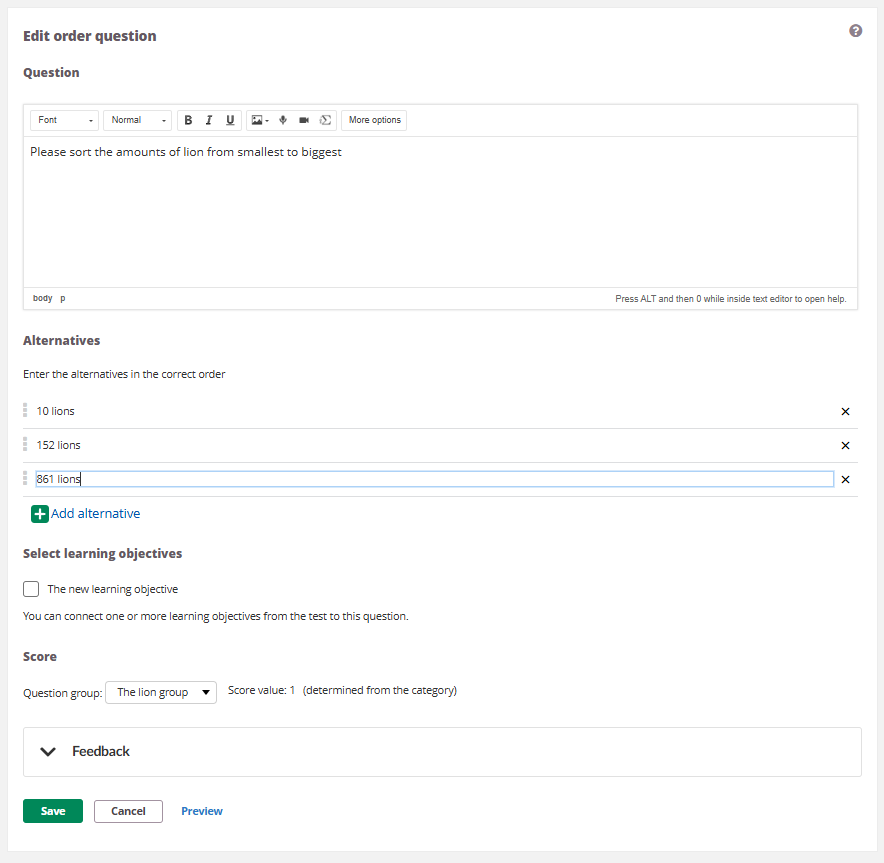
7.6 Order
The order question presents a list of alternatives that students arrange in the correct sequence by dragging and dropping.
Alternatives:
Enter the alternatives in the correct order. The system randomises the order when presented to students. Each alternative consists of:
- A drag handle (six dots icon) to reorder alternatives.
- A text input field for the alternative text.
- A delete button (✕) to remove the alternative.
By default, four alternatives are displayed. Select Add alternative to add more.
Scoring is based on absolute placement only — each item in the correct position earns an equal fraction of the score. Relative ordering between incorrectly placed items is not considered.
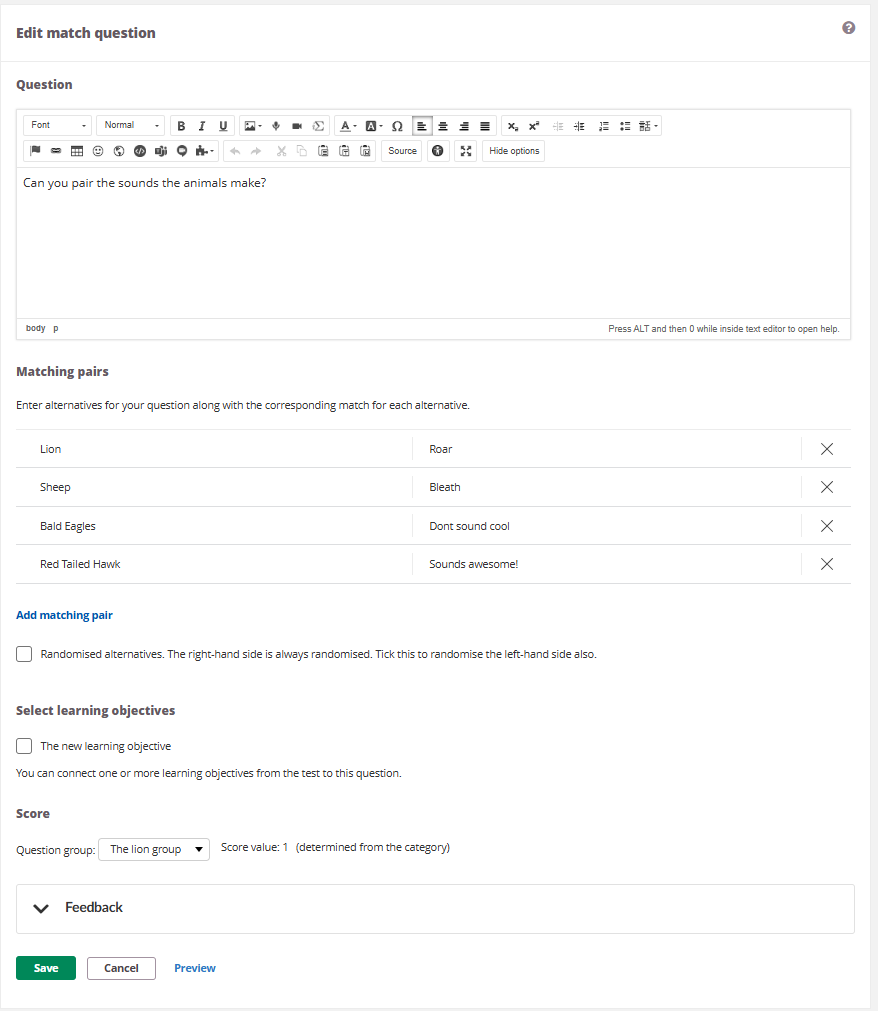
7.7 Match
The match question presents two columns of items. Students pair them by dragging and dropping.
Matching pairs:
Each pair consists of:
- A left-hand text field for the item.
- A right-hand text field for the corresponding match.
- A delete button (✕) to remove the pair.
By default, four pairs are displayed. Select Add matching pair to add more.
Randomised alternatives: The right-hand side is always randomised for the student. Tick the checkbox to also randomise the left-hand side.
Each correctly matched pair is worth an equal fraction of the total score.
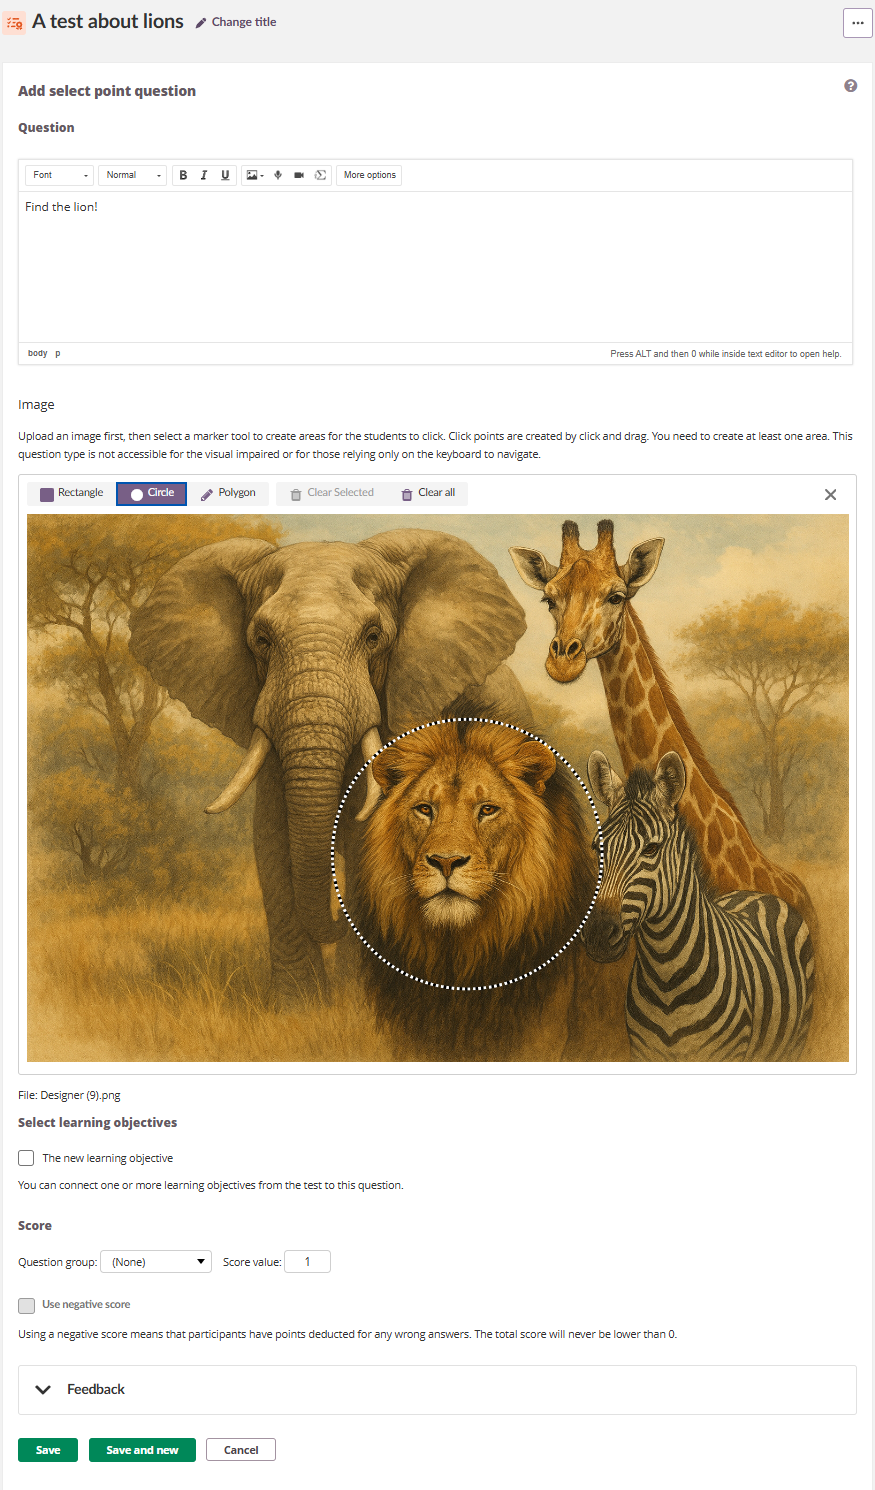
7.8 Select Point
The select point question presents an image. Students click on the correct area(s) to answer.
Accessibility note: This question type is not accessible for the visually impaired or for those relying only on the keyboard to navigate.
Image:
Upload an image, then use the marker tools to define correct areas. Areas are created by clicking and dragging on the image. You need to create at least one area.
Three shape tools are available:
- Rectangle — draw a rectangular area.
- Circle — draw a circular area.
- Polygon — draw a freeform area.
To manage areas: select Clear Selected to remove the selected area, or Clear all to remove all areas.
Students can click as many times as there are defined areas. Each click hits either inside or outside a defined area. Each correctly hit area earns an equal fraction of the total score.
Available settings: Negative score.
8 Scoring Overview
8.1 Default Scoring
The default scoring logic is straightforward. The teacher sets a maximum score for each question. A fully correct answer earns the maximum score, an incorrect answer earns 0 points. For question types with partial answers (such as matching 3 out of 5 pairs), the student receives a proportional score.
8.1.2 Multiple Choice — Single Answer (default)
The student selects one alternative. If it is the correct answer, the student receives the full score. If it is incorrect, the student receives 0 points.
With Customise score enabled, the alternative with the highest weight represents 100% of the score. Other alternatives are scored relative to that, allowing partial credit for partially correct answers.
8.1.3 Multiple Choice — Multiple Answers
When Allow students to select more than one alternative is enabled, each alternative is treated as an individual decision. The student earns points for:
- Selecting a correct alternative.
- Not selecting an incorrect alternative.
Each alternative is worth an equal fraction of the total score (or a weighted fraction if Customise score is enabled).
Fixed rules:
- If all alternatives are checked, the student receives 0 points (considered guessing).
- If no alternatives are checked, the student receives 0 points (considered a blank submission).
- The total score is never lower than 0.
Example: A question has 5 alternatives (A and B are correct) with a maximum score of 10. Each alternative is worth 2 points. A student who selects only A and B and leaves C, D, and E unchecked receives the full 10 points (5 correct decisions × 2 points). A student who selects only A receives 6 points: correct on A, C, D, E (4 × 2) but incorrect on B (missed).
8.2 Negative Scoring
When enabled, wrong answers result in deductions instead of simply earning 0 points for that part of the question. The total score for a question will never be lower than 0.
- Fill in the Blank and Select from a List: Blank (unanswered) fields are not deducted.
- Select Point: Clicks outside defined areas are deducted.
- Multiple Choice (multiple answers): Selecting an incorrect alternative or not selecting a correct alternative results in a deduction.
Note: Negative scoring is not available for manual assessment (applies to Fill in the Blank when Use manual assessment is enabled).
9 Results and Assessment
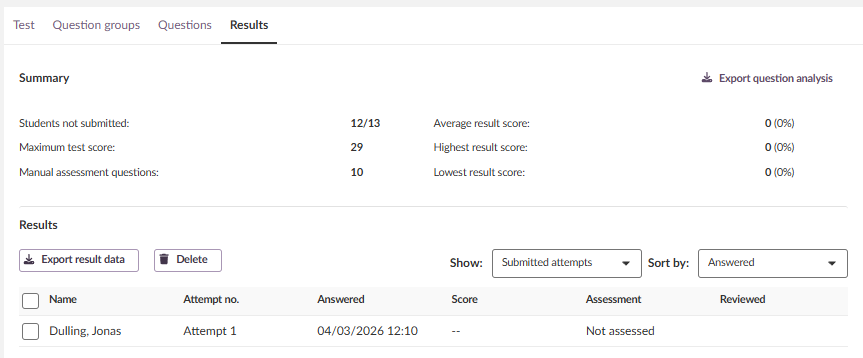
9.1 Results Overview (Teacher)
The Results tab provides teachers with a summary of all submissions and tools for assessing student work.
Summary section:
The summary displays the following statistics:
| Statistic | Description |
|---|---|
| Students not submitted | Number of students who have not yet submitted (e.g. 12/13). |
| Maximum test score | The maximum achievable score for the test. |
| Manual assessment questions | The number of questions requiring manual assessment. |
| Average result score | The average score across all submitted attempts. |
| Highest result score | The highest score achieved. |
| Lowest result score | The lowest score achieved. |
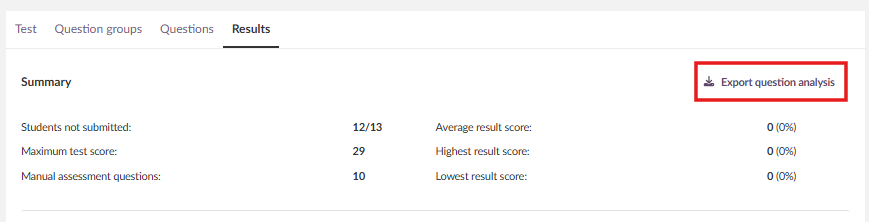
Export question analysis: Select this link to download a question-level analysis of the test results.
Results table:
Below the summary, a table lists all submitted attempts with the following columns:
| Column | Description |
|---|---|
| Name | The student's name. |
| Attempt no. | The attempt number (e.g. Attempt 1). |
| Answered | The date and time the attempt was submitted. |
| Score | The total score achieved. |
| Assessment | The assessment status (e.g. Not assessed). |
| Reviewed | Whether the submission has been reviewed by the teacher. |
The results table includes the following tools:
- Export result data — download the results as a file.
- Delete — delete selected attempts.
- Show dropdown — filter the list (e.g. Submitted attempts).
- Sort by dropdown — sort the list (e.g. by Answered).
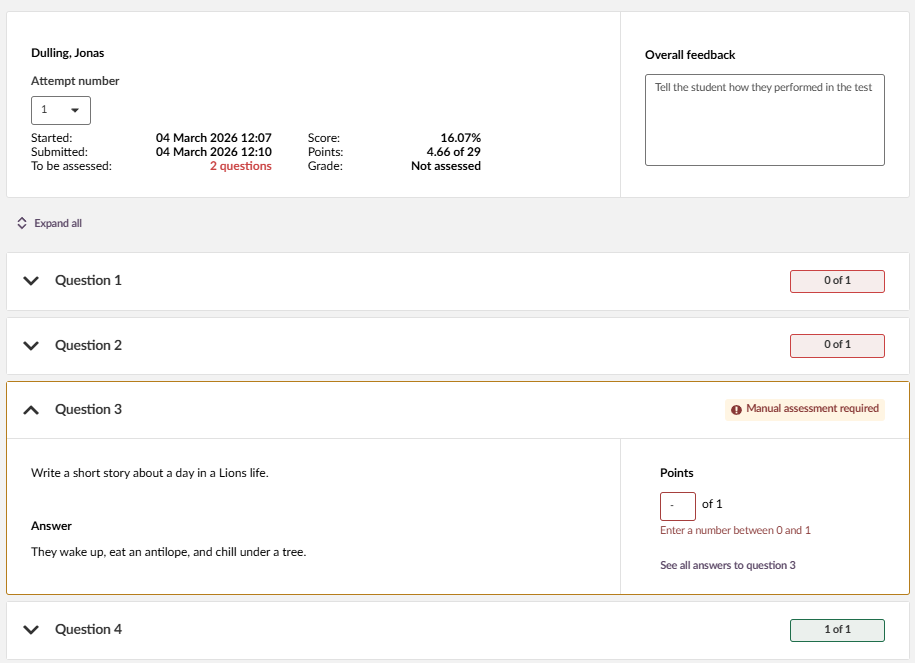
9.2 Assessing a Student's Attempt
Select a student's name to open the individual assessment view. This view displays:
Student header:
- Student name, attempt number (dropdown to switch between attempts), start time, submission time, and number of questions to be assessed.
- Score (percentage), points (e.g. 3.41 of 10), and grade status (e.g. Not assessed).
- Overall feedback — a text field for providing general feedback on the student's performance. Placeholder text: "Tell the student how they performed in the test".
Navigation between students is available via Previous student and Next student links. Select Back to results to return to the results overview.
Question list:
Each question is displayed with its score. Select Expand all or click an individual question to expand it. Scores are colour-coded:
| Colour | Meaning |
|---|---|
| Green | Full score (e.g. 1 of 1) |
| Orange | Partial score (e.g. 0.33 of 1) |
| Red | No score (0 of 1) |
| "Manual assessment required" | Awaiting teacher input |
Assessing questions manually:
For questions marked with Manual assessment required, the teacher can:
- View the question text and the student's answer.
- Enter a score in the Points field (e.g. enter a number between 0 and the maximum score).
- Select See all answers to question [number] to view all students' answers to the same question.
For automatically scored questions, the score is displayed with an Edit button to override the automatic score if needed.
9.3 Student Review
Depending on the settings in 2.9 Result and Feedback, students can review their own test attempt. The student review displays:
- Score (percentage), points, assessment status, attempt number, submission date, and remaining attempts.
- A notice if any questions require manual assessment (e.g. "Manual assessment needed for question number: 3").
- Each question with the student's answer and score, colour-coded by result.
- Correct alternatives marked with ✓ and incorrect with ✗.
- The correct answer shown for incorrect selections (depending on the Reveal the correct answers setting).
- Question-level feedback (correct, partially correct, or wrong) and alternative-specific feedback if configured.
For Select from a List questions, the student's answers are shown inline within the original text, with the correct answer listed below each incorrect selection.
10 Printing a test
You can print a test once you have added the questions. This produces a print-friendly version of the test that can be distributed on paper.
- Open the test.
- Click the three-dot menu (...) in the top right corner.
- Select Print.

The browser print dialogue opens with a print-friendly version of the test.
Limitations when printing:
- Wide tables may not fit on a page without breaking the layout. Check the print preview before distributing.
- Open answer questions are not particularly print-friendly, as the text box may be too small for students to write their full answer by hand.
- Multimedia content (audio, video, embedded content) is not print-friendly.
11 Advanced Question Analysis
For high-stakes tests or exams, particularly in higher education, teachers may want to analyse the quality of their questions. The test tool provides an advanced question analysis feature that evaluates the difficulty and discrimination of each question based on student answers. This is especially useful for tests that are reused across terms or cohorts, as the analysis helps improve question quality over time.
The advanced question analysis provides:
- Statistics on each question based on actual student performance.
- Classical measures for difficulty and discrimination.
- Recommendations on which questions should be reviewed.
- Export as Excel for further analysis.
This makes it possible to improve test quality and easily identify weak questions that may need revision.
11.1 Export Question Analysis
The analysis is available from the Results tab. Select Export question analysis near the summary information to trigger the calculation and download an Excel (.xlsx) file.
The analysis is performed on all counting attempts that are fully assessed (maximum one per student). If a student later submits a new attempt that becomes the counting attempt, select the button again to trigger a new analysis.
11.2 Analysis Columns
The exported spreadsheet contains a header row followed by a description row. Each subsequent row represents one question in the test. The columns are:
| Column | Possible values | Description |
|---|---|---|
| Question number | Integers | Question number as seen in the question list in the test by the teacher. |
| Question text | Up to 100 characters of text | Question text, cut at 100 characters if long. HTML is stripped. For Fill in the Blank or Select from a List, this is the introduction text, not the question. |
| Question type | Text | Name of the question type. |
| Assessed and counting answers | Integers | Number of times the question has been used in a fully assessed, counting attempt. |
| Max possible score | Positive number, 2 decimals | Question score as set by the teacher when creating the question. Usually an integer, but decimal values are allowed. |
| Average score | Positive number, 2 decimals | Average score achieved in the attempts included in the analysis. |
| Standard deviation | Positive number, 2 decimals | Standard deviation of the scores achieved in the attempts included in the analysis. Calculated as standard deviation for a sample population. |
| Variance | Positive number, 2 decimals | Variance of the scores achieved in the attempts included in the analysis. Calculated as variance for a sample population. |
| Answers with max score (%) | Positive number, 2 decimals | Percentage of attempts with score equal to max score, based on the number of attempts included in the analysis. |
| Difficulty | Hard, Medium, or Easy | Categorised based on the percentage of attempts achieving max score (see 9.3 Difficulty). |
| Discrimination score | 0 to 1, 2 decimals, or empty | Calculated as Pearson's correlation coefficient for a sample population (see 9.4 Discrimination Score). |
| Discrimination | Good, Fair, Poor, or Cannot calculate | Categorised based on the discrimination score (see 9.4 Discrimination Score). |
| Review recommended | Yes or No | Whether the question is flagged for review based on difficulty and discrimination values (see 9.5 Review Recommended). |
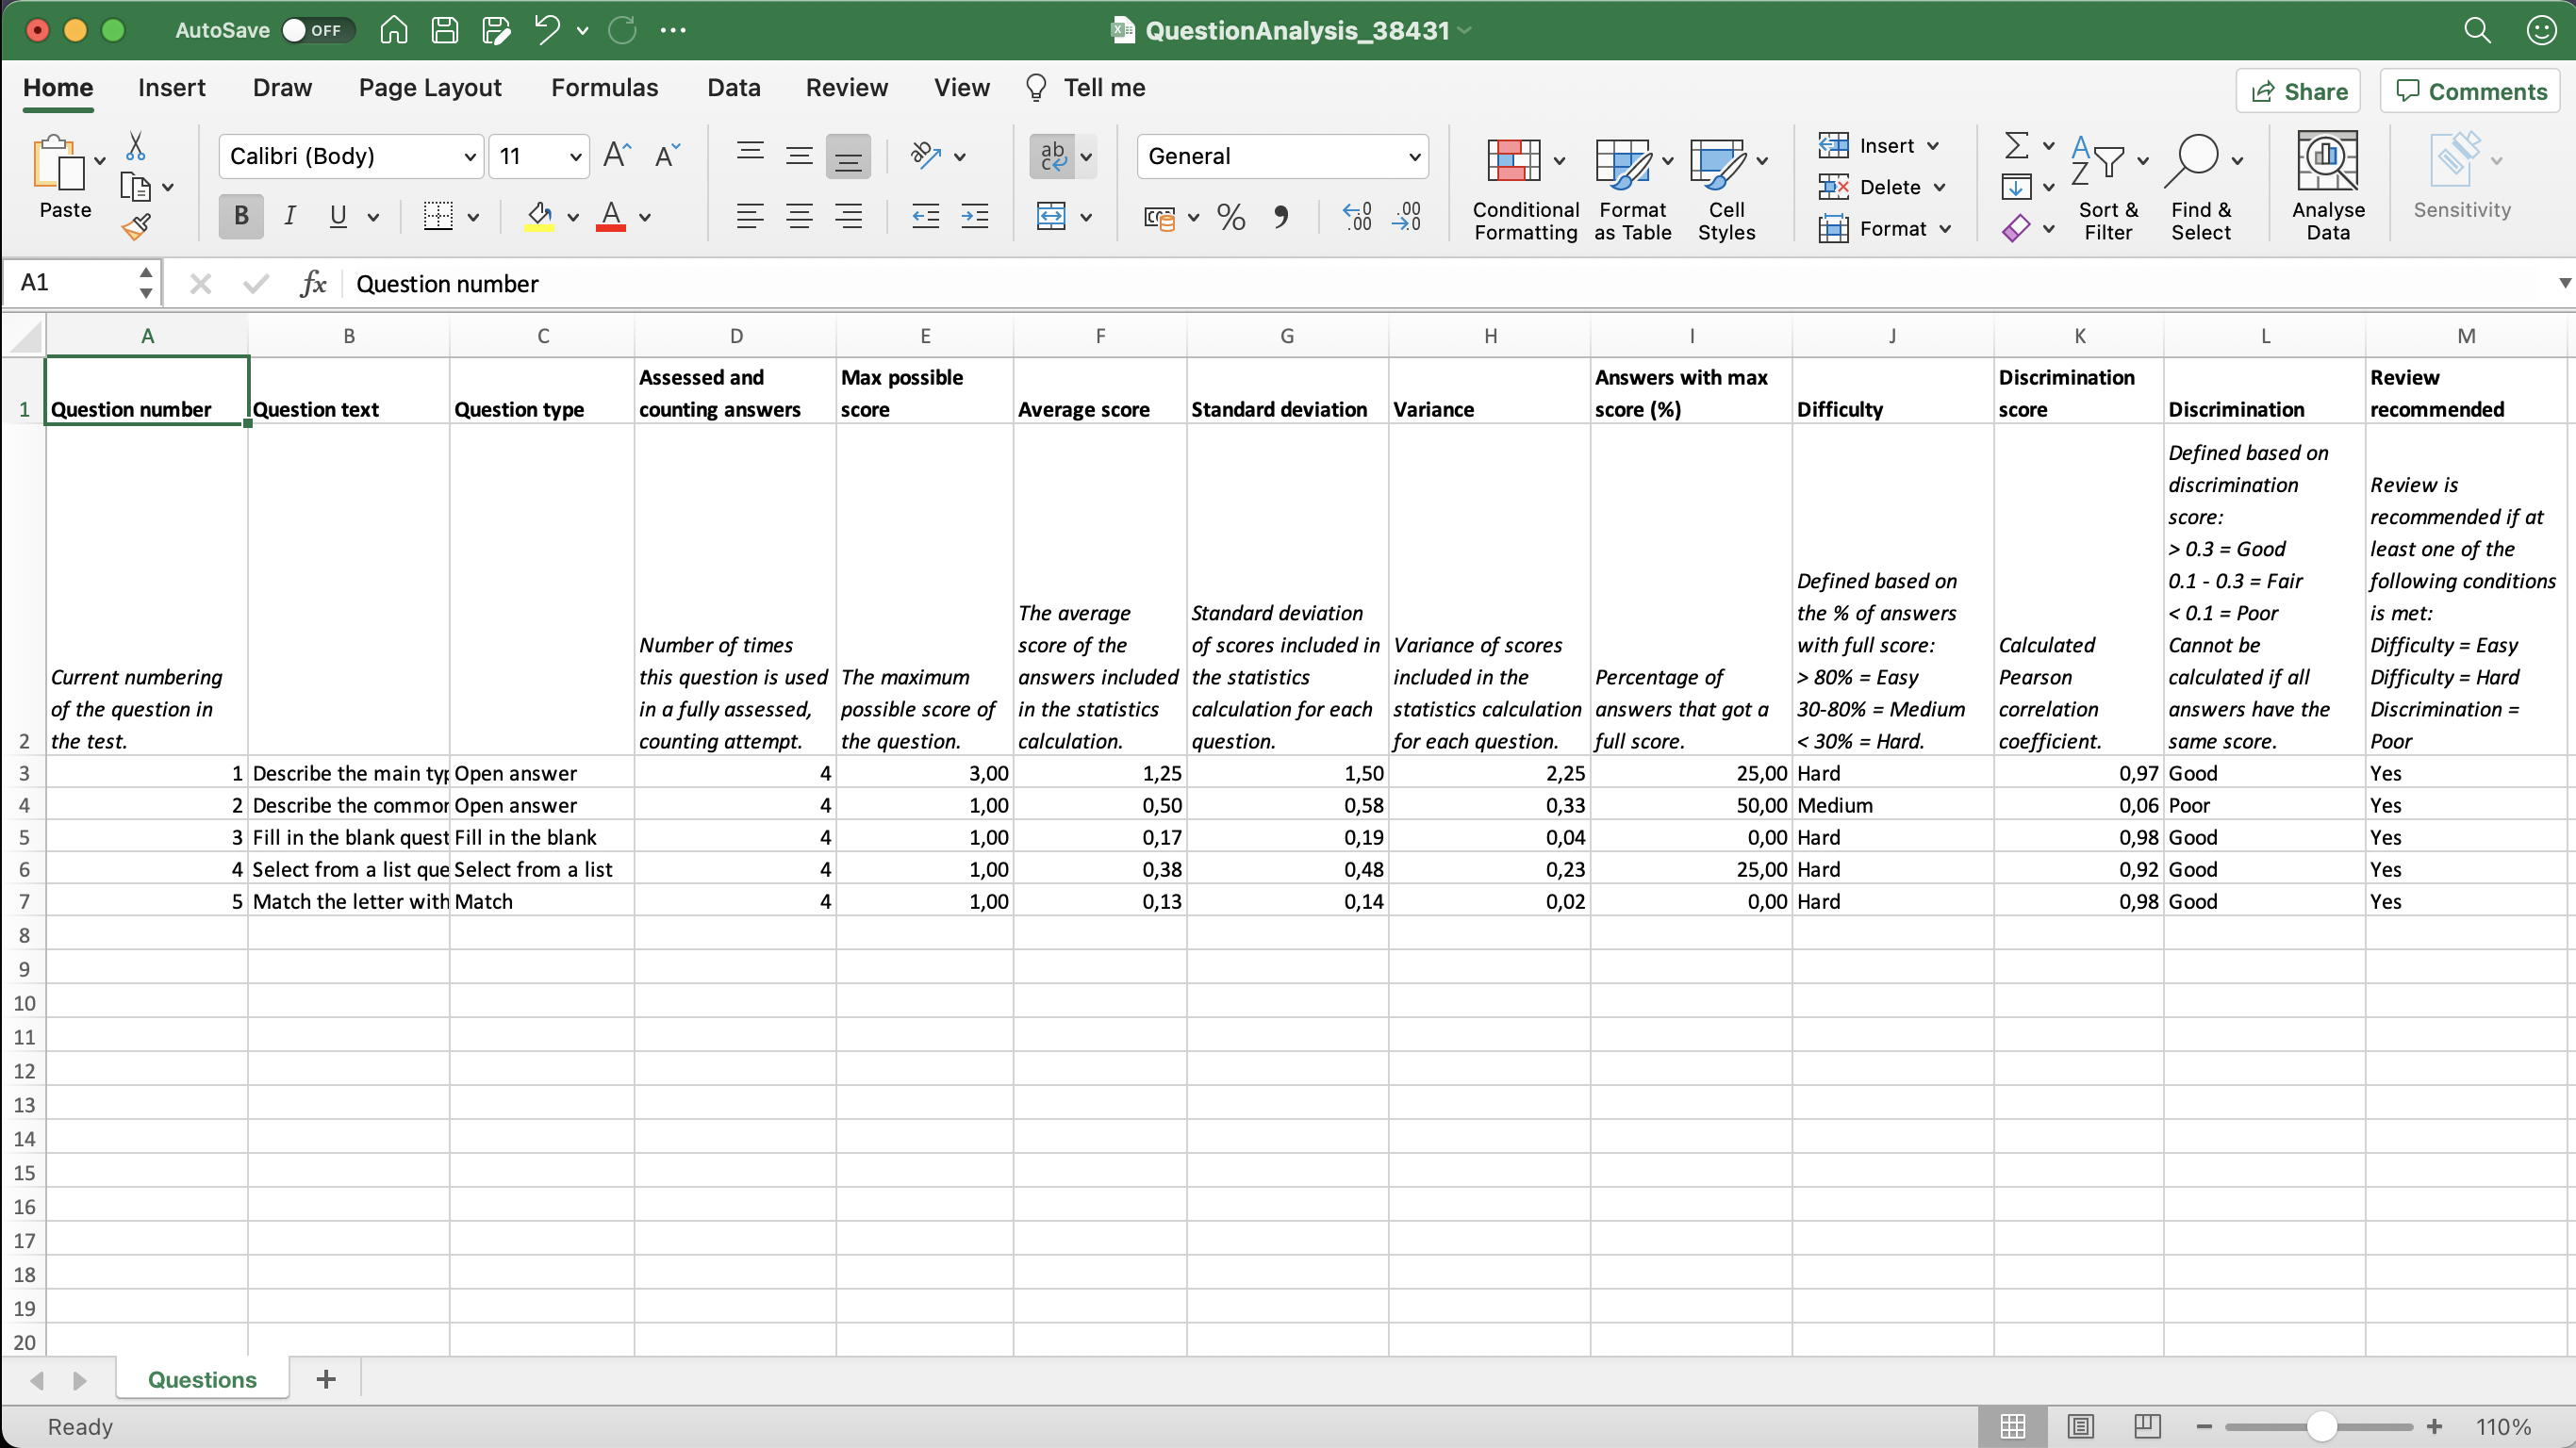
11.3 Difficulty
The difficulty classification is based on the percentage of attempts that achieved the maximum score:
| Classification | Condition |
|---|---|
| Easy | More than 80% of students got the maximum score |
| Medium | Between 30% and 80% of students got the maximum score |
| Hard | Fewer than 30% of students got the maximum score |
11.4 Discrimination Score
The discrimination score is calculated as Pearson's correlation coefficient for a sample population. It measures how well a question differentiates between high-performing and low-performing students. The coefficient cannot be calculated when all attempts have the same score.
The discrimination is categorised as follows:
| Classification | Condition |
|---|---|
| Good | Score greater than 0.3 |
| Fair | Score between 0.1 and 0.3 |
| Poor | Score less than 0.1 |
| Cannot calculate | All attempts have the same score |
11.5 Review Recommended
A question is flagged for review if at least one of the following conditions is met:
- Difficulty is Easy
- Difficulty is Hard
- Discrimination is Poor
12 Troubleshooting
Select Point Question Not Accessible
Symptoms: Students using screen readers or keyboard navigation cannot interact with the question.
Cause: The Select Point question type relies on clicking specific areas of an image, which requires a mouse or touch input.
Solution: Consider using an alternative question type for assessments where all students must be able to participate. Provide an alternative assessment method for affected students.
More Help Resources
Have more questions? Please start with asking your school administrator.
Product Release notes
Stay updated with itslearning latest releases: https://itslearning.com/product-updates
Service Status
Check the current status of itslearning services: https://status.itslearning.com/
Ideas Portal
Share your ideas and help shape the future of itslearning: https://ideas.itslearning.com/
Roadmap
Check out our roadmap: https://itslearning.com/global/roadmap/