Mass Message
Mass Messaging – Sending a School Message
TABLE OF CONTENTS
With Mass Messaging, administrators can send an instant message to a large group of people within a hierarchy. The feature is quick, easy, and mobile-friendly.
Overview
Mass Messaging is opened from the Admin menu. When you open Mass Messaging, you see a list of school messages that have previously been sent.
You can send a message to everyone in a hierarchy, or to specific groups within it, such as system and school administrators, teachers, students, guardians, guests, or observers.
You can also set the organisation or school as the sender of the message, so recipients see which organisation the message came from. If you are sending to members of multiple schools, you can choose which school is shown as the sender.
Create a school message
Admin setting: Admin menu > Mass Messaging
1. Open your personal menu (profile picture in the top right corner) and click Admin.
2. Select Mass Messaging.
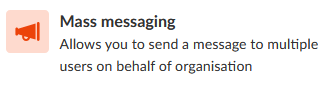
The Mass Messaging option in the Admin menu.
3. On the page that opens, you see a list of school messages that have already been sent. To create a new message, click New Message.
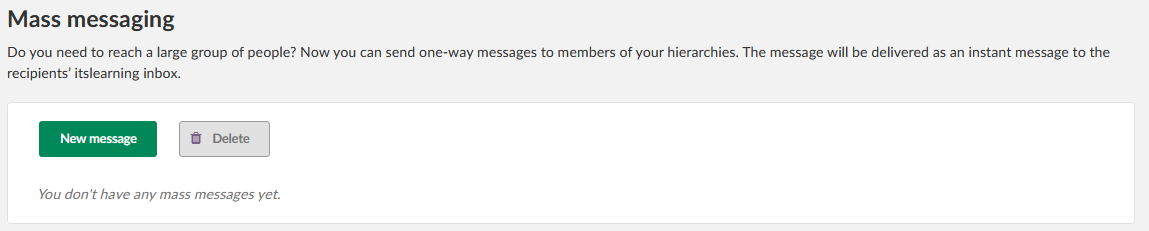
The list of previously sent school messages, with the New Message button.
4. Click Find Hierarchy. Select the desired hierarchy, or part of a hierarchy, and confirm your selection with OK.
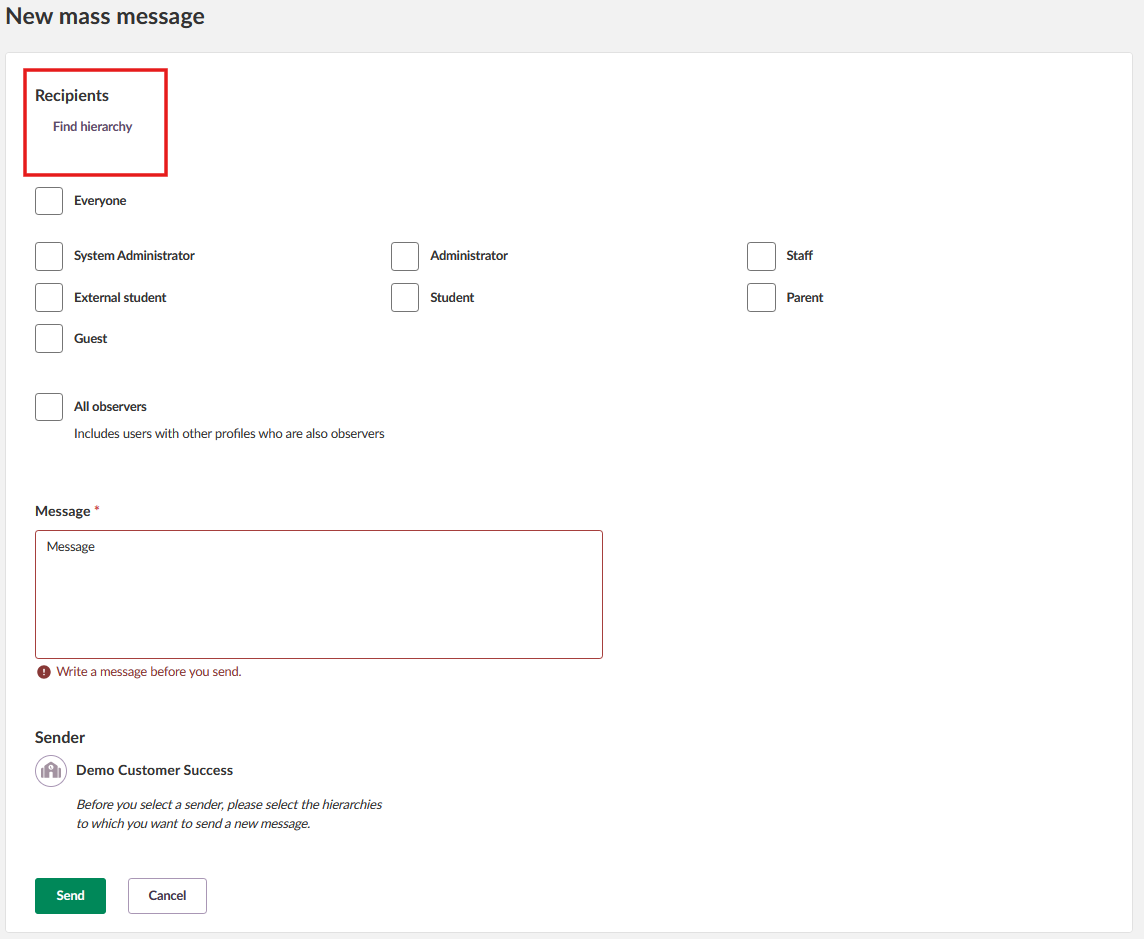
Selecting a hierarchy using Find Hierarchy.
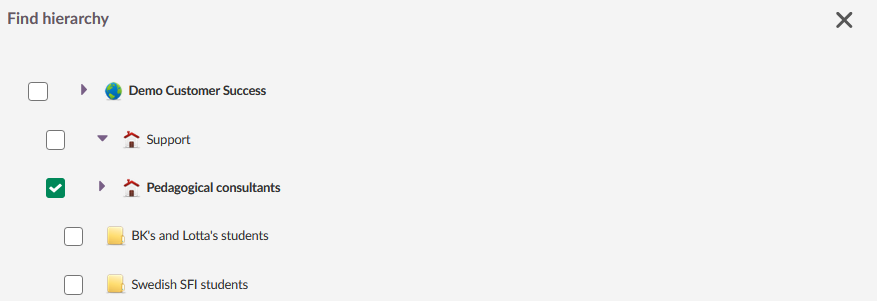
5. Select the recipients of the mass message. You can select Everyone, or choose between individual groups: system and school administrators, teachers, students, guardians, guests, and observers. Once a group is selected, its box turns green and shows a check mark.
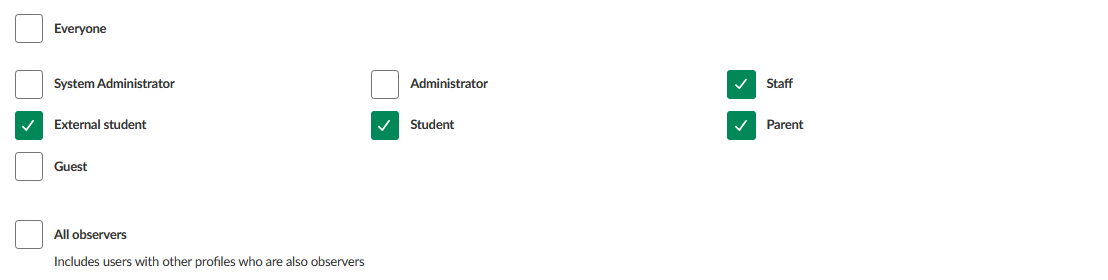
Selecting recipient groups. Selected groups are marked green with a check mark.
6. Enter the text content of your message in the field provided.
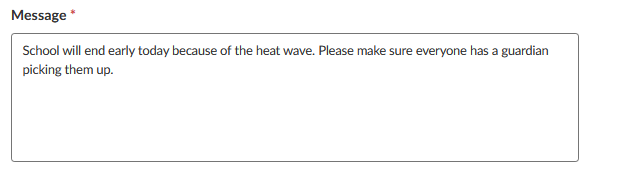
Entering the message text.
7. Specify the sender by clicking the small arrow to open the drop-down list. This tells recipients which school or organisation sent the message. If the message is going to members of several schools or organisations, you can choose which of these is shown as the sender. The options in the drop-down list are based on the hierarchy or hierarchies selected in step 5.
Note: If no sender is shown in the drop-down list, go back and repeat step 5.
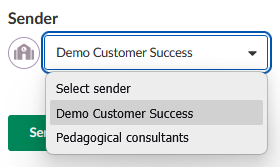
Selecting the sender from the drop-down list.
8. A pop-up window with information about the message appears. Confirm sending in this window.
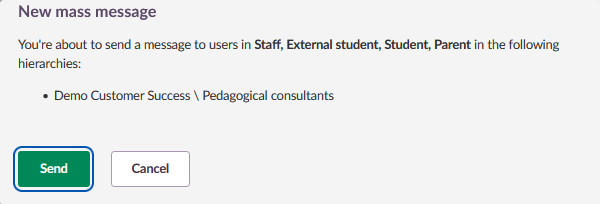
The confirmation pop-up shown before the message is sent.
Important: If any of the required steps have not been completed, the message cannot be sent. A notification appears at the top of the page.

Notification shown when a required step is missing.
More Help Resources
Have more questions? Please start with asking your school administrator.
Product Release notes
Stay updated with itslearning latest releases: https://itslearning.com/product-updates
Service Status
Check the current status of itslearning services: https://status.itslearning.com/
Ideas Portal
Share your ideas and help shape the future of itslearning: https://ideas.itslearning.com/
Roadmap
Check out our roadmap: https://itslearning.com/global/roadmap/