Courses - Getting started (Teacher)
TABLE OF CONTENTS
Introduction
This article shows teachers how to create a course in itslearning. You enter the course information, add an optional image and template, and create the course.
1 Overview
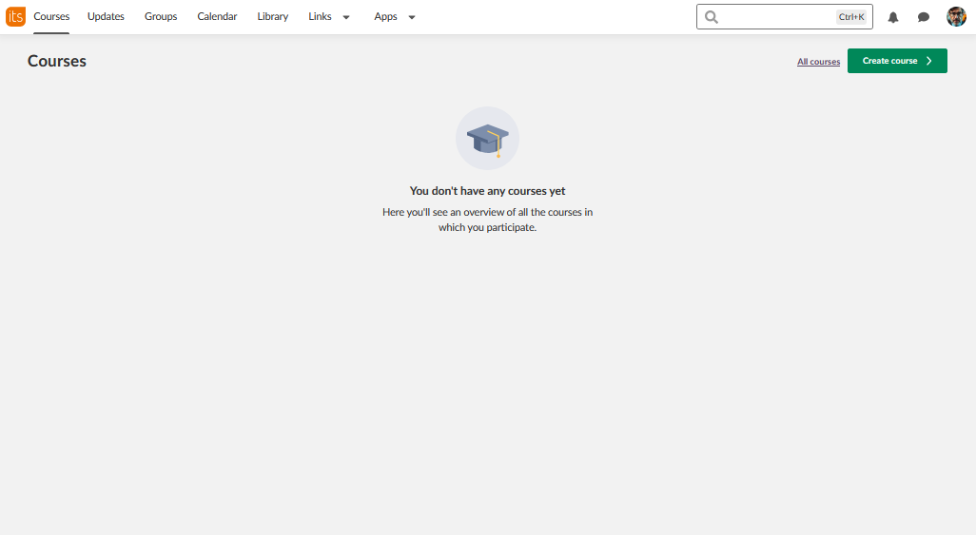
You create a course from the Courses page with the green Create course button. In the window that opens, you enter basic course information and set the organisation. You can also add a course image and apply a template.
When you select Create course, the course overview page of your new course opens.
2 Prerequisites
- Teacher access to itslearning.
- The name and subject area of your course.
- A colour and an image that help students identify your course.
3 Step-by-step instructions
3.1 Opening the Create course window
- If you start on your Dashboard, open the Courses page.
- Select the green Create course button in the upper-right corner.
3.2 Entering basic course information
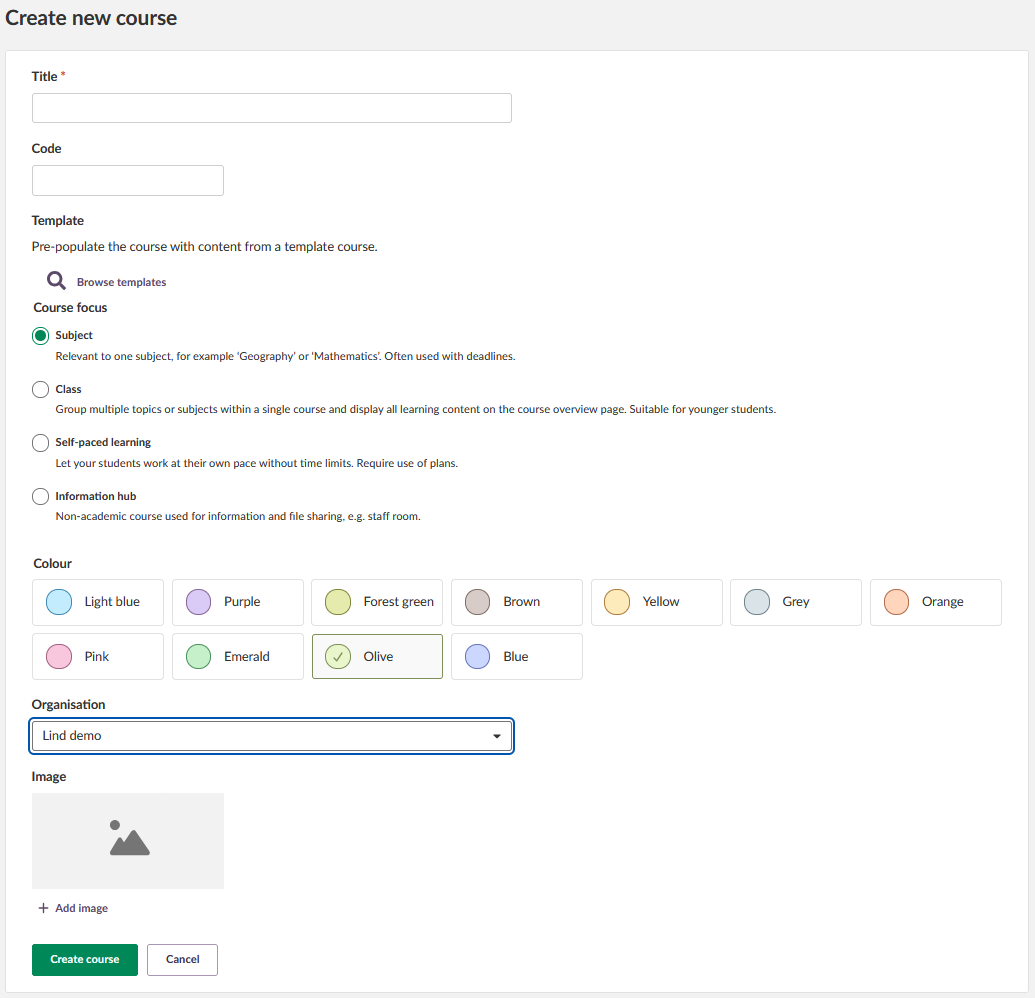
- Title: Enter the name of your course, for example "Mathematics Year 9".
- Code: Add a course code if your organisation requires one.
- Course focus: Decide which course type you want to use.
- Colour: Select a colour that helps students identify your course.
3.3 Setting the organisation
- Choose your organisation from the drop-down list.
Note: A system administrator on your site may have pre-selected the organisation.
3.4 Adding a course image (optional)
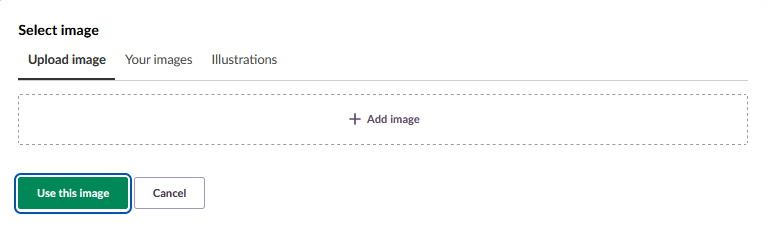
- Select Add image.
- Do one of the following:
- Select the Add image area to browse files on your computer.
- Drag and drop an image into the upload area.
- Choose an illustration and select a picture.
- If you upload an image, it appears in the course preview.
Note: You can skip this step and add an image later.
3.5 Choosing a template (optional)
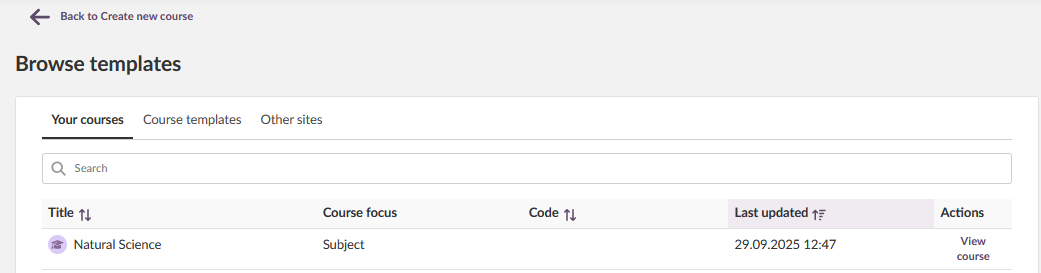
Note: Templates are available only if they are enabled on your site. A template fills the new course with premade content.
- Select Browse templates to see the available course templates.
- Select a template that matches your subject area.
To start with a blank course, skip this step.
3.6 Creating the course
- Select the green Create course button.
- The overview page of your new course opens.
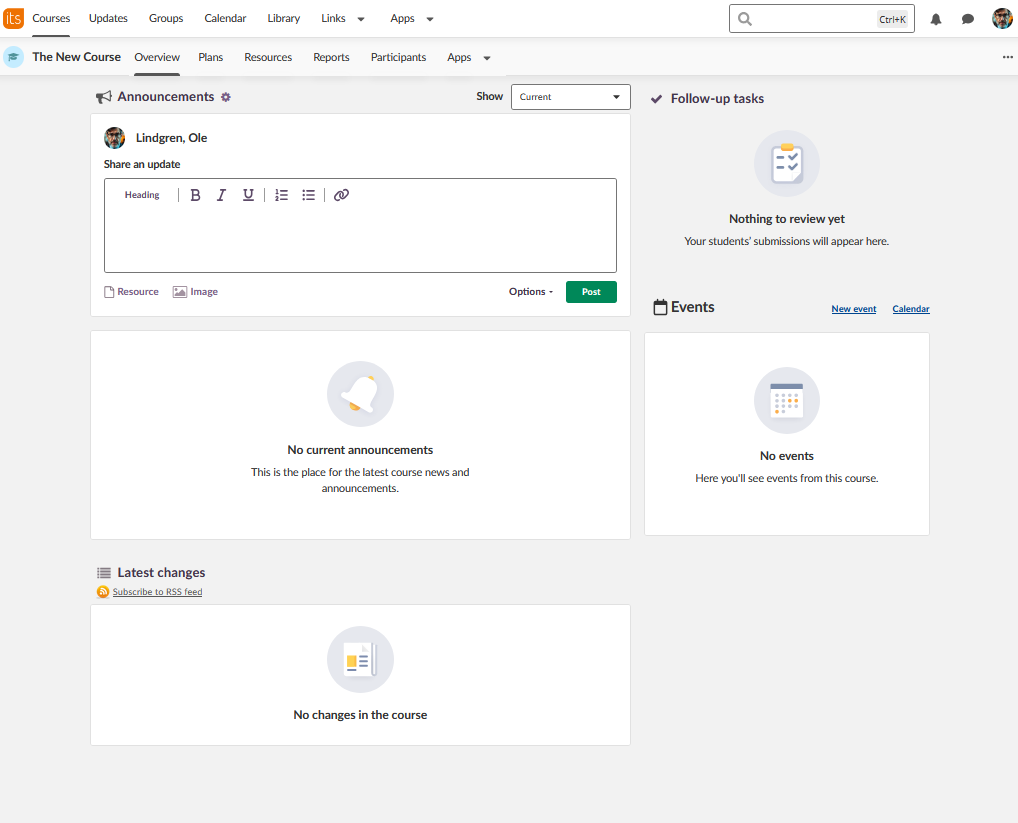
3.7 Verifying the course
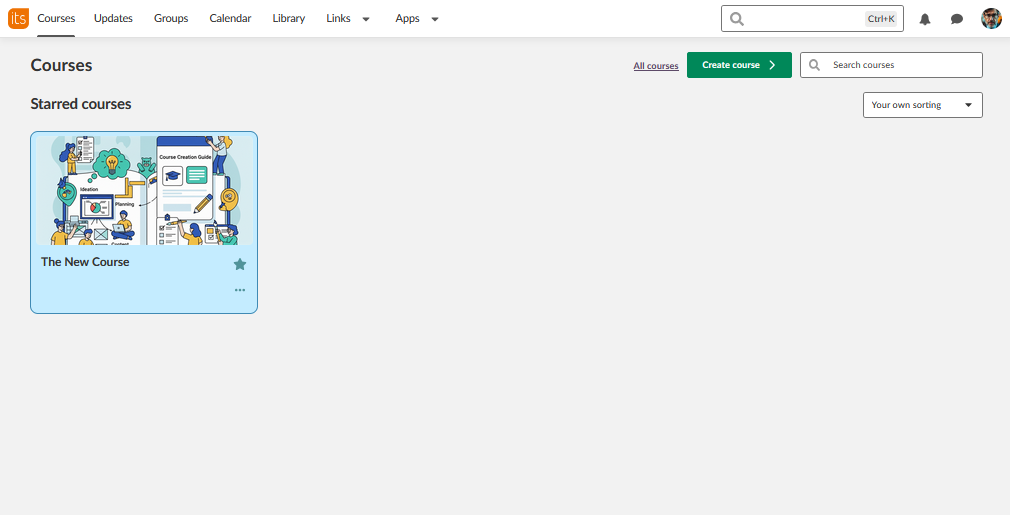
Check that your course appears on your Courses page with the correct course name, colour and image.
More Help Resources
Have more questions? Please start with asking your school administrator.
Product Release notes
Stay updated with itslearning latest releases: https://itslearning.com/product-updates
Service Status
Check the current status of itslearning services: https://status.itslearning.com/
Ideas Portal
Share your ideas and help shape the future of itslearning: https://ideas.itslearning.com/
Roadmap
Check out our roadmap: https://itslearning.com/global/roadmap/