The top menu and navigation in itslearning (parent)
TABLE OF CONTENTS
Introduction
This article gives parent accounts an overview of the itslearning top menu: where you typically land when you sign in, what each tab shows, and how relevant each tab usually is for parents.

Note: If you are looking for the parent dashboard, open the menu the upper right corner and choose the name of your child from the drop down menu.
1 Overview
The top menu appears at the top of every page in itslearning. It gives access to four tabs: Courses, Updates, Groups and Calendar. Which tabs and features you see depends on what your school has enabled for parent accounts.
Where you land when you sign in also depends on how your school has set up itslearning:
| Landing page | When it applies |
|---|---|
| Courses tab | The default for most parents when not landing directly in the parent dashboard. Your courses appear as course cards. |
| A specific course page | Some schools set up a parent course or an information hub. In this case, you land directly on that course's course page. |
| A dashboard | A few schools set up a dashboard as the landing page. A dashboard is a school front page created by the sysadmin. |
| Tab | Description | Relevance for parent accounts |
|---|---|---|
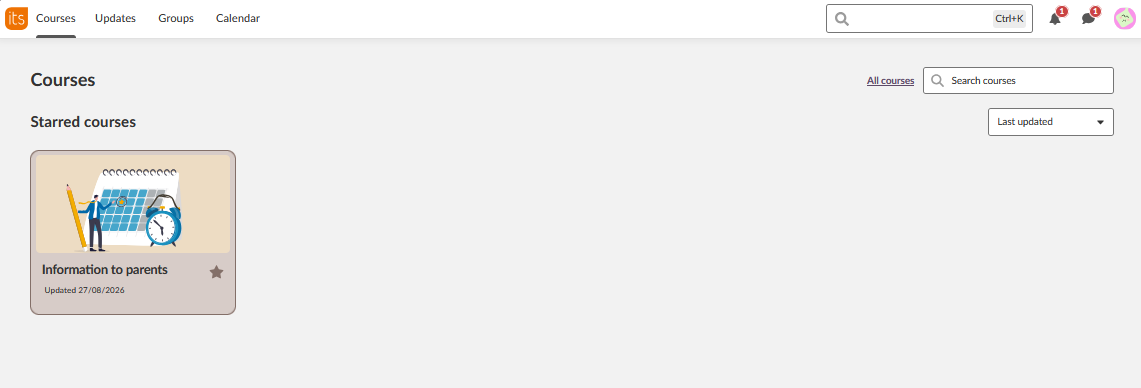
| Courses | Shows the courses you are enrolled in as starred course cards. This is your parent dashboard. | Main tab for most parent accounts. |
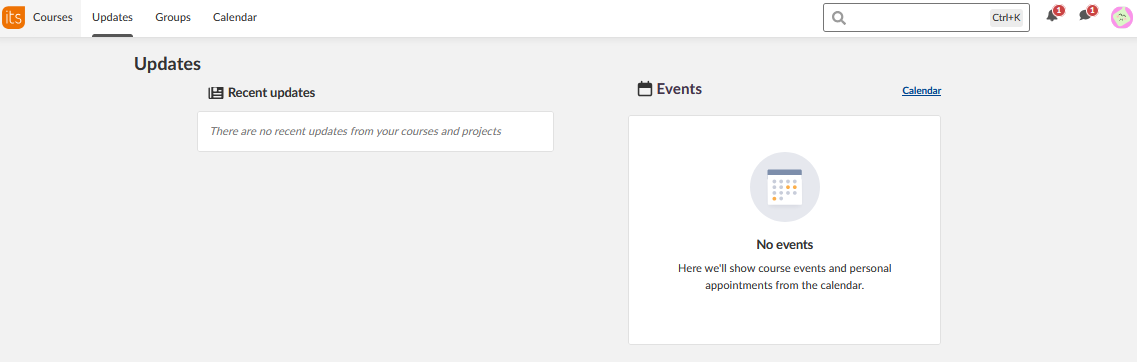
| Updates | Lists updates gathered from all of your starred courses. | Rarely needed. Parent accounts are usually enrolled in only one or two courses, so checking the relevant course card is normally quicker. |
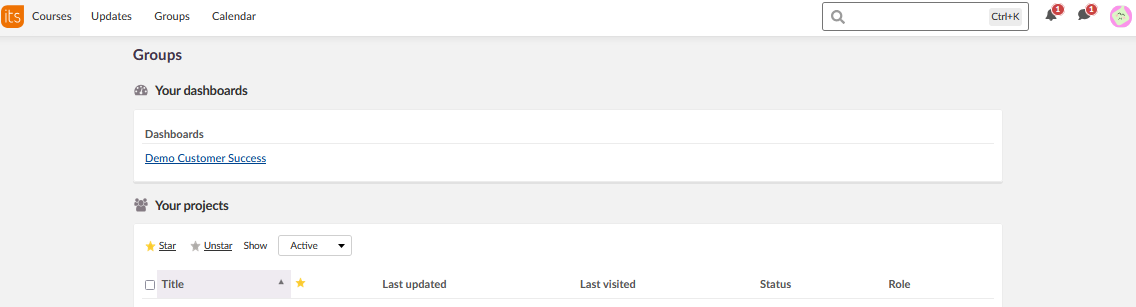
| Groups | Shows communities or projects that have been set up for you, if any. | Rarely relevant unless your school has set up communities or projects for parents. |
| Calendar | Displays your calendar. | Covered in a separate help article. |
Admin setting: The tabs and features available to parent accounts, and which page you land on when you sign in, are configured by your school. Content in this article may not match your school's set-up exactly.
Note: The notification bell, the Messages icon, and your profile picture appear in the top-right corner of every page, alongside the top menu. These are covered in separate help articles.
2 Step-by-step instructions
2.1 Opening the Courses tab
- Select Courses in the top menu.
- Your courses appear as course cards. Select a course card to open that course's course page.
2.2 Checking the Updates tab
- Select Updates in the top menu.
- Updates from all of your starred courses are listed together. As parents usually have very few, or no courses, this is not relevant for most users.
2.3 Checking the Groups tab
- Select Groups in the top menu.
- Any communities or projects set up for you appear here.
2.4 Opening the Calendar tab
- Select Calendar in the top menu.
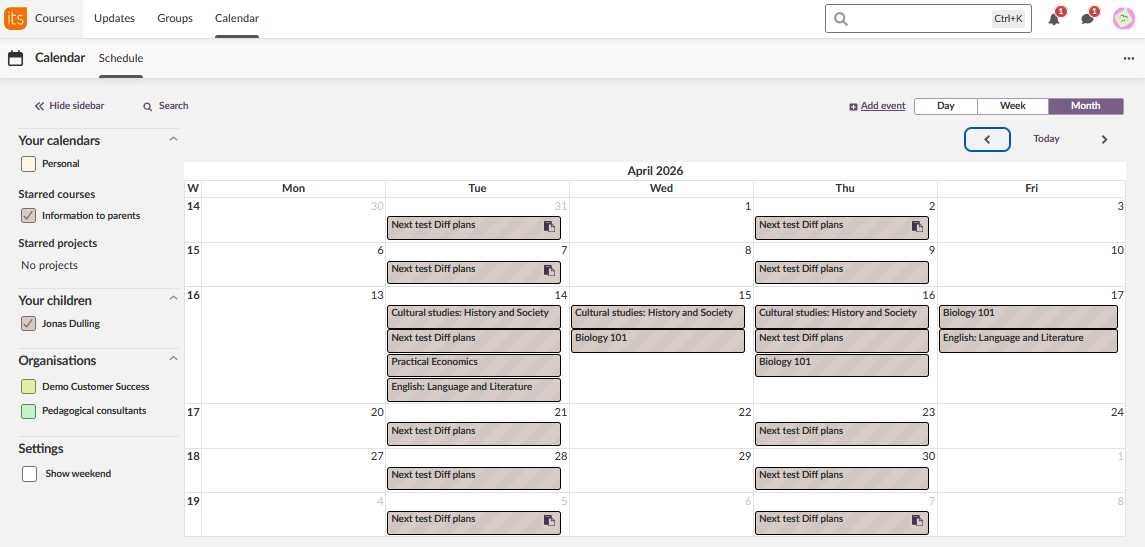
Note: The Calendar tab is covered in a separate help article.
2.5 Opening your profile menu
- Select the profile picture in the top-right corner of the page.
- Select an option from the menu: Your settings, Files, Help, or Log out.
If a child's name is listed, select it to switch to that child's parent dashboard.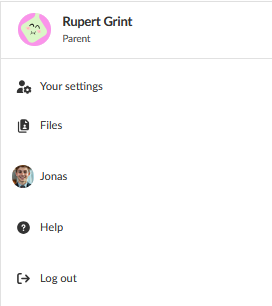
Note: Your settings is covered in a separate help article.