Collaboration folder (student)
TABLE OF CONTENTS
- 1 Introduction
- 2 Find the collaboration folder
- 3 Before and after the closing date
- 4 Add items
- 5 Troubleshooting
1 Introduction
A collaboration folder is a shared workspace in your course where you and your classmates can create and edit content together.
2 Find the collaboration folder
- Go to your course and open Resources. Look for a folder with the collaboration icon or the title your teacher gave it.

- If your teacher added it to a Plan, open the Plan and select the collaboration folder from there.
- If you cannot find it, ask your teacher to check that you are assigned and that the folder is visible.

3 Before and after the closing date
Your teacher sets a closing date for the collaboration folder. Before this date, you can add, edit, move, and delete items. After the closing date, you can still open and read everything, follow links, and participate in discussions — but you can no longer change anything.
4 Add items
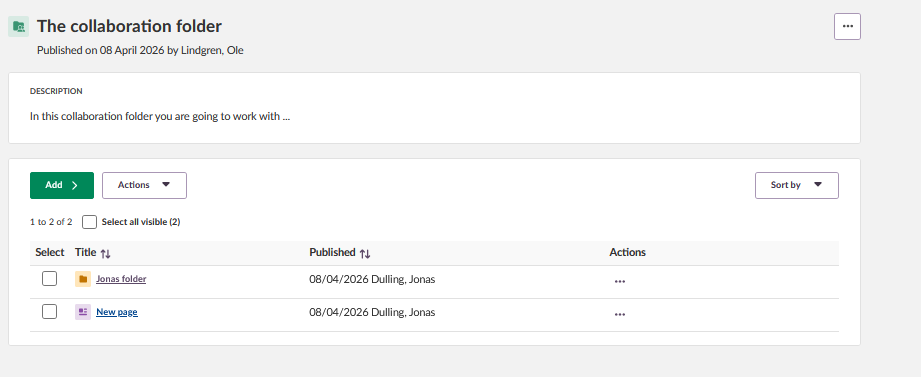
Note: Everyone assigned to the folder can edit and delete any item — including items created by other students. Handle shared content with care.
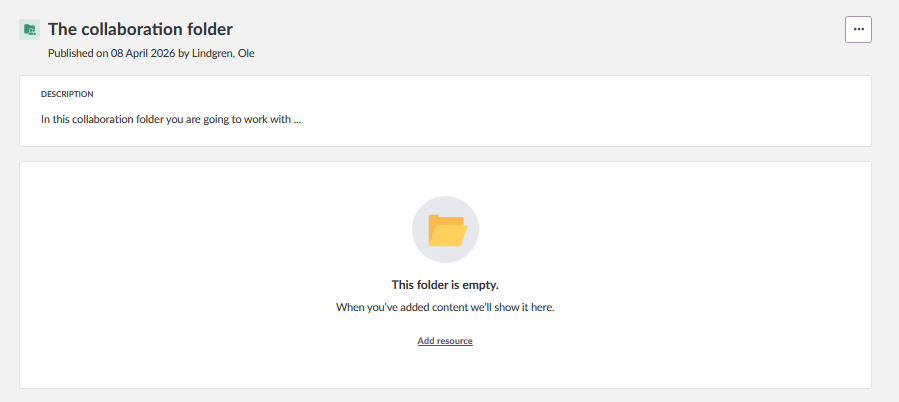
Open the collaboration folder and select Add. Depending on what your teacher has enabled, you can add files, folders, pages, links, discussions, and Microsoft Office or Collabora documents.
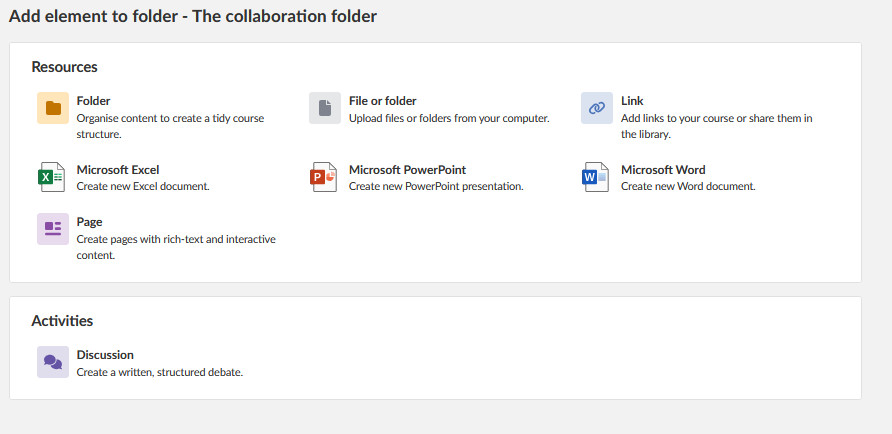
Give your items clear names so your classmates understand what they are.
Good to know:
- If Microsoft Office or Collabora documents are available, multiple students can co-edit the same document at the same time.
- Pages do not support co-editing. If two people edit a Page at the same time, one person’s changes will be overwritten when the other saves.
5 Troubleshooting
I cannot find the collaboration folder
Possible causes: You may not be assigned to the folder, or the folder may not be visible yet.
Solution: Ask your teacher to check that you are assigned as a participant and that the folder is set to visible.
I cannot add or edit anything
Possible causes: The closing date may have passed, or all allowed elements may be disabled.
Solution: Ask your teacher to check the closing date and allowed elements in the folder settings.
More Help Resources
Have more questions? Please start with asking your school administrator.
Product Release notes
Stay updated with itslearning latest releases: https://itslearning.com/product-updates
Service Status
Check the current status of itslearning services: https://status.itslearning.com/
Ideas Portal
Share your ideas and help shape the future of itslearning: https://ideas.itslearning.com/
Roadmap
Check out our roadmap: https://itslearning.com/global/roadmap/
The features shown are part of the project within the framework of the German Development Project (GDP), a cooperation between four German states and itslearning with the aim of improving digital education in Germany through tailor-made product developments.
Click here to learn more about the GDP roadmap and what other features you can expect.
For German readers: Click here for more information about the project within the framework of the German Development Project.